
Products designed and developed
in the United Kingdom
Stainless Steel Kitchen Splashback Installation Guide
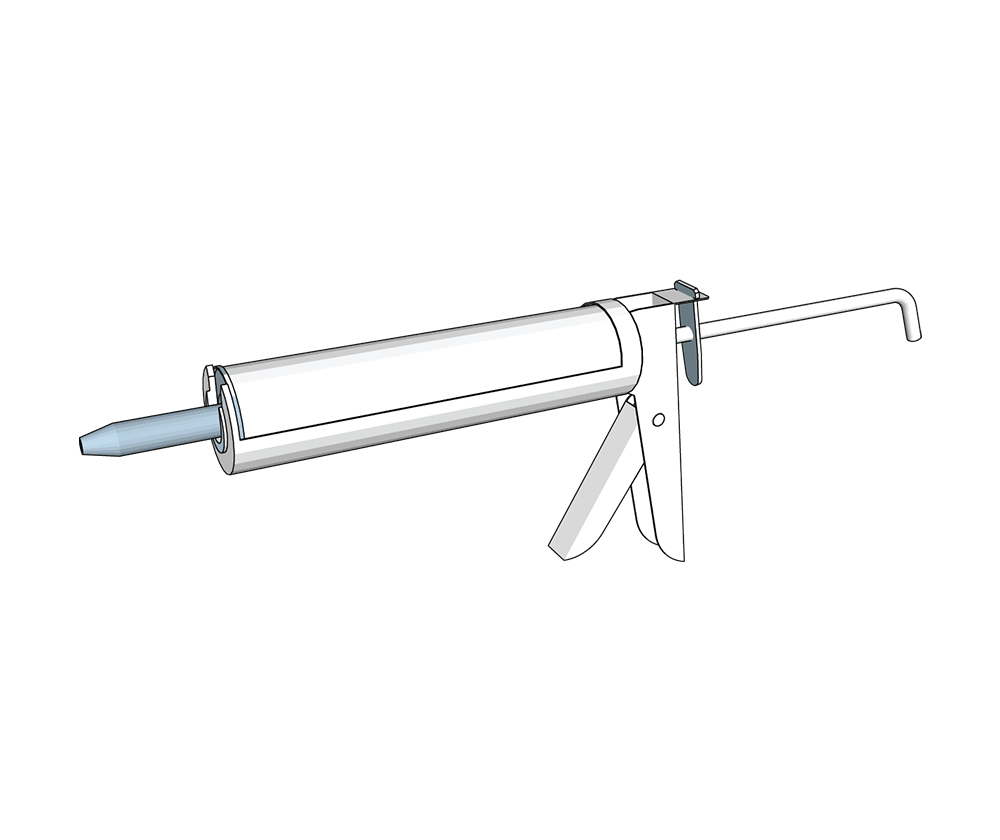
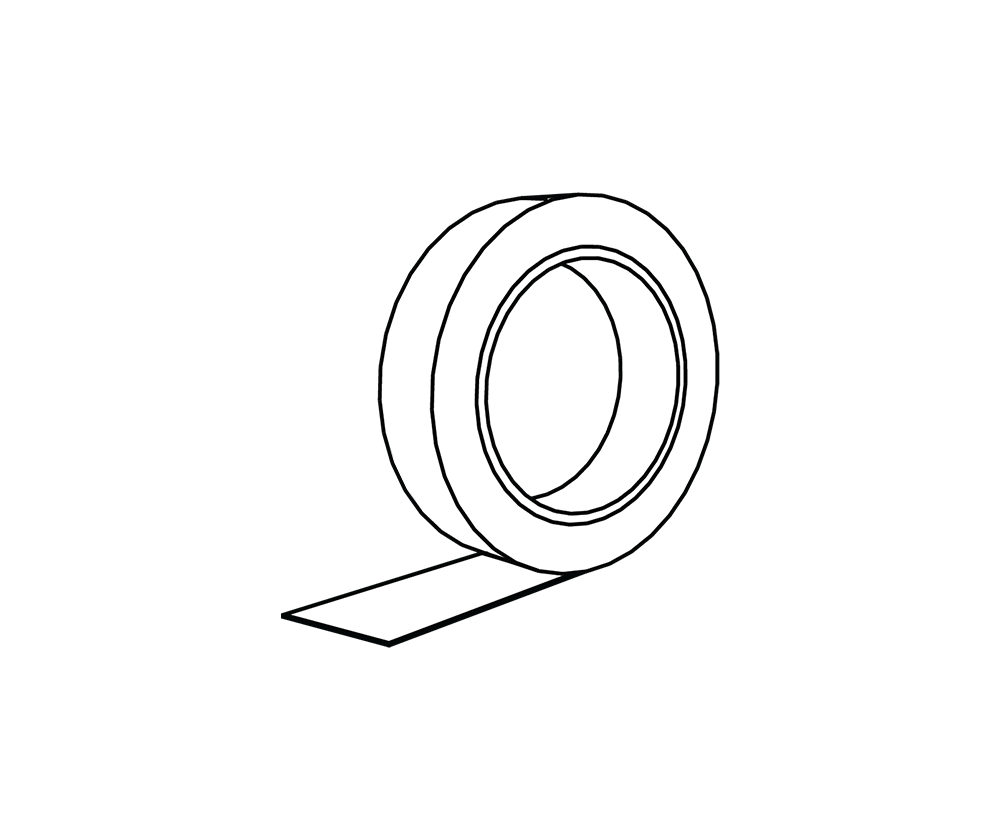
Tools you'll need
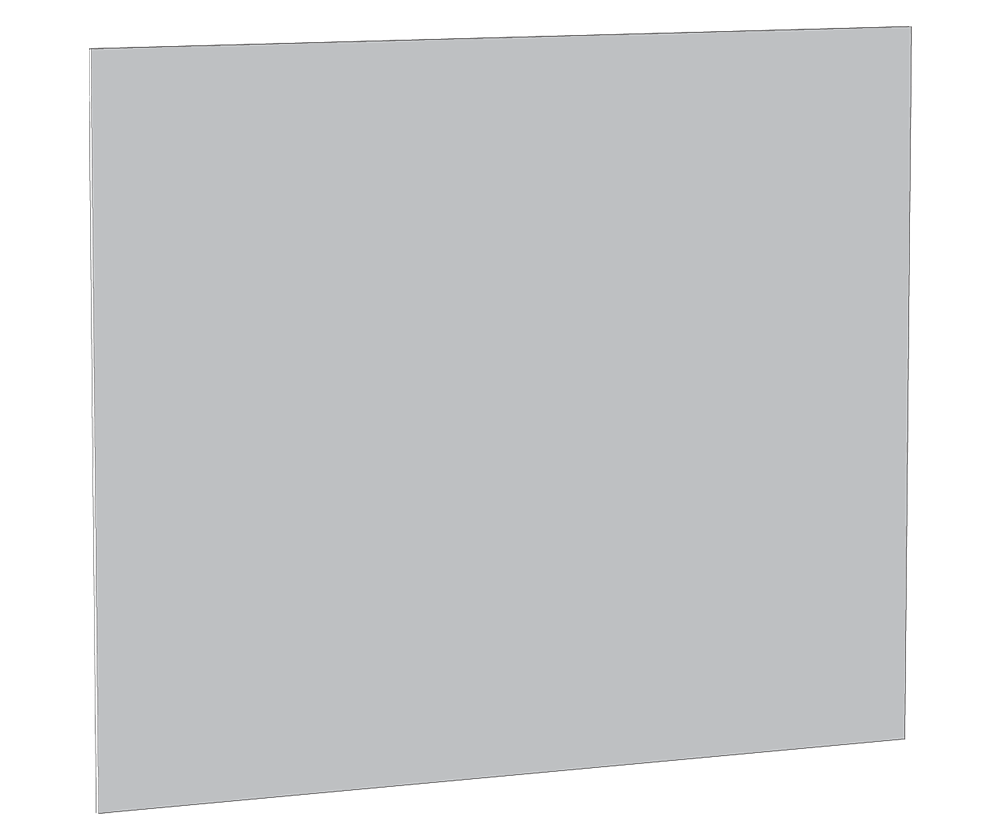
What's included
Safety First
- Prior to installation, items must be stored either flat or absolutely vertical.
- Items must be stored at normal room temperature and humidity.
- The plastic coating protecting the stainless steel must be undamaged and left intact until installation is complete.
- Items should only be fitted in areas that experience normal household ranges of temperature and humidity.
- Particular care should be taken in newly built areas to ensure a stable atmosphere. All windows/doors should be in place, plasterwork fully dry, and major works completed prior to installation.
- Chlorides such as bleach or common salt, and acids of any kind can damage stainless steel surfaces. If a spillage occurs rinse thoroughly with plenty of fresh water and then dry with a soft cloth.
- Metal objects that may rust should never be left in contact with stainless steel.
- To retain the best appearance, only use cleaners designed for use on stainless steel. If a product is suitable for use on stainless steel, it should be stated on the packaging. Warm soapy water and drying/polishing with a soft cloth work equally as well.
- Use only cloths or non-scratch pads to clean the stainless steel - NEVER use metal scouring pads, this will scratch the surface, ruin the appearance, and allow rust to form.
- For mirror polished coloured steel items, cleaners such as clear liquid window cleaners or even 'Windolene' can be used, but always rinse with water and buff off with a soft cloth.
- Organic solvents such as Acetone may be used, but only in small amounts, and this must be thoroughly washed off afterwards with soap and water. If in doubt, always try any cleaner on a small area to test first.
Storage
Fitting
Care
Important: Care must be taken when handling this product. For your safety we recommend that hands are protected from edges and corners.
Instructions
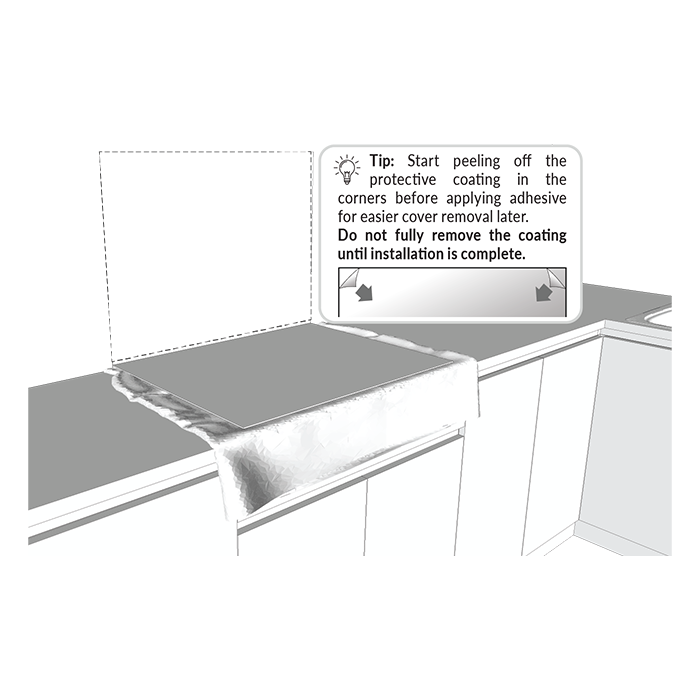
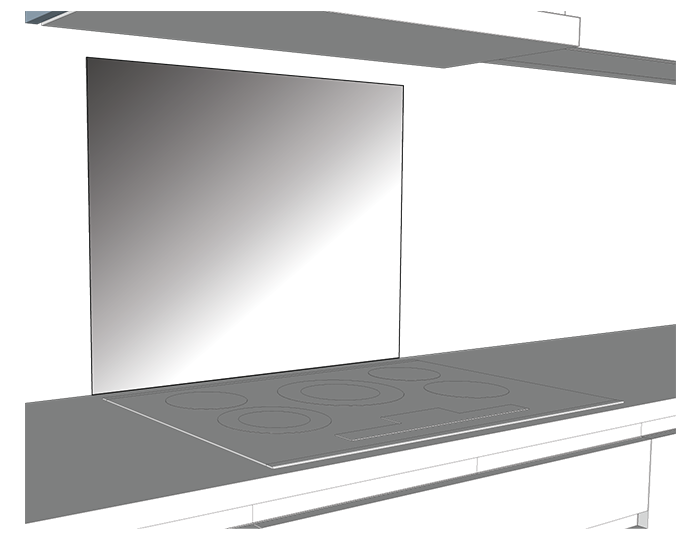
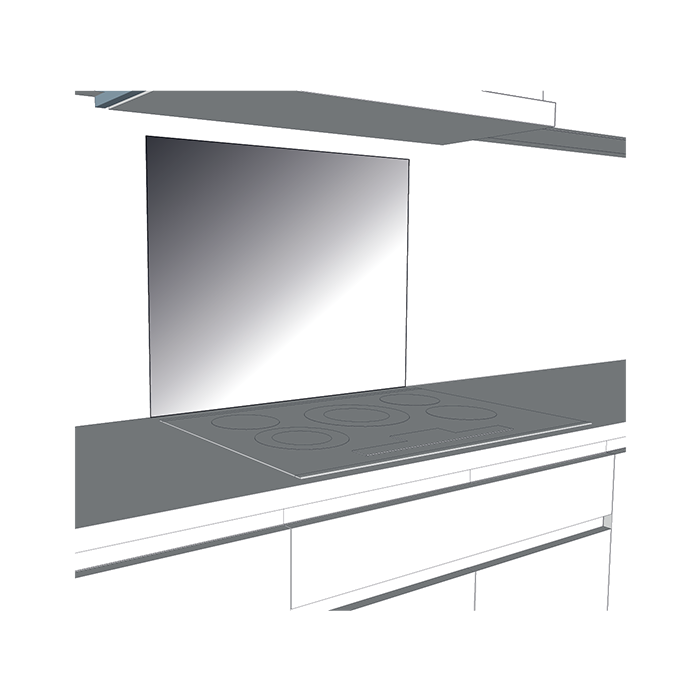
Step 1. Decide on the position and orientation of your stainless steel splashback. Allow approximately 1mm around each edge of the splashback to allow for material expansion. Mark the intended position on the wall.
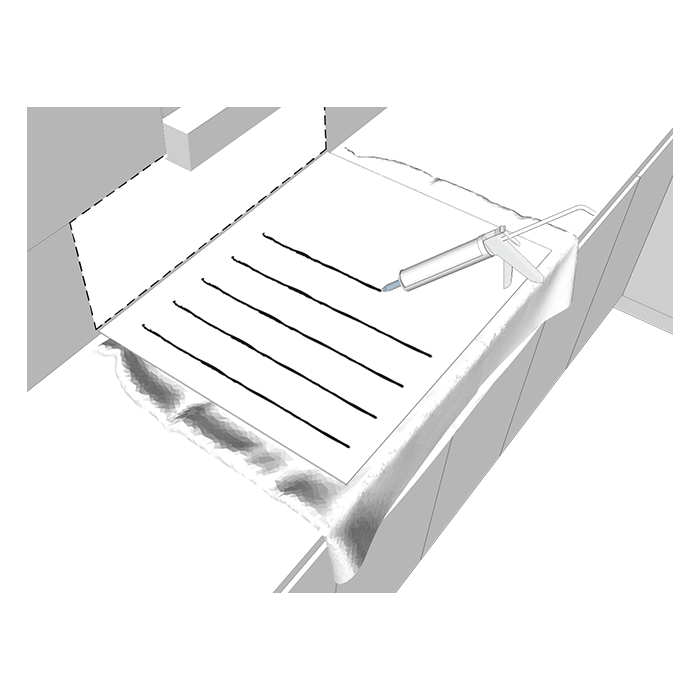
Step 2. Apply a high-quality construction adhesive (such as Grip Fill or Hard as Nails) to the back of the stainless steel splashback. Be sure to follow the manufacturer's instructions for specific adhesive.
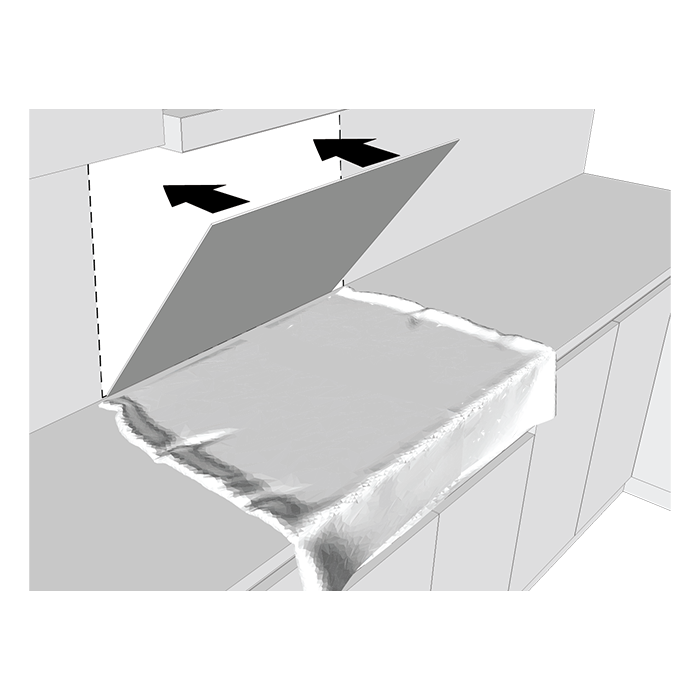
Step 3. Apply the splashback to the wall in your chosen location and push firmly to ensure good contact between the wall and the adhesive.
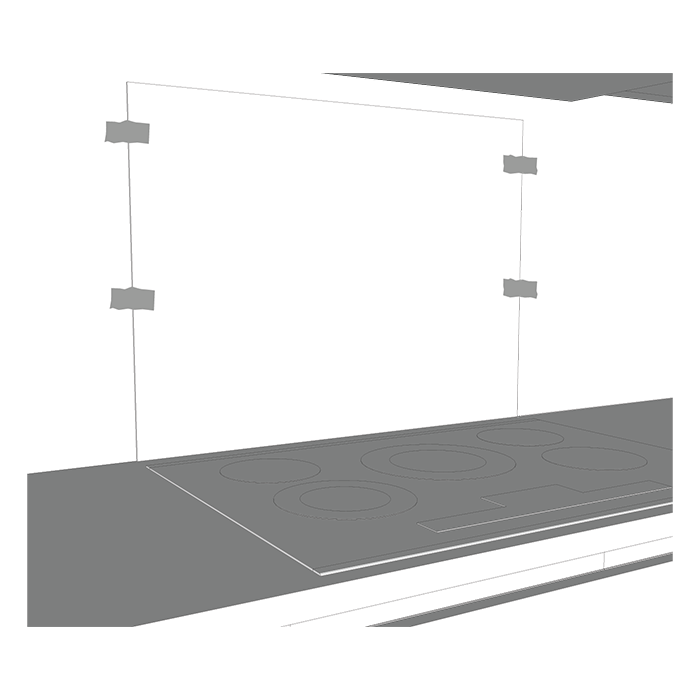
Step 4. Refer to the adhesive manufacturer's instructions regarding the period of time required for the adhesive to cure or dry. The splashback will need to be supported during this period to ensure it does not separate from the wall.
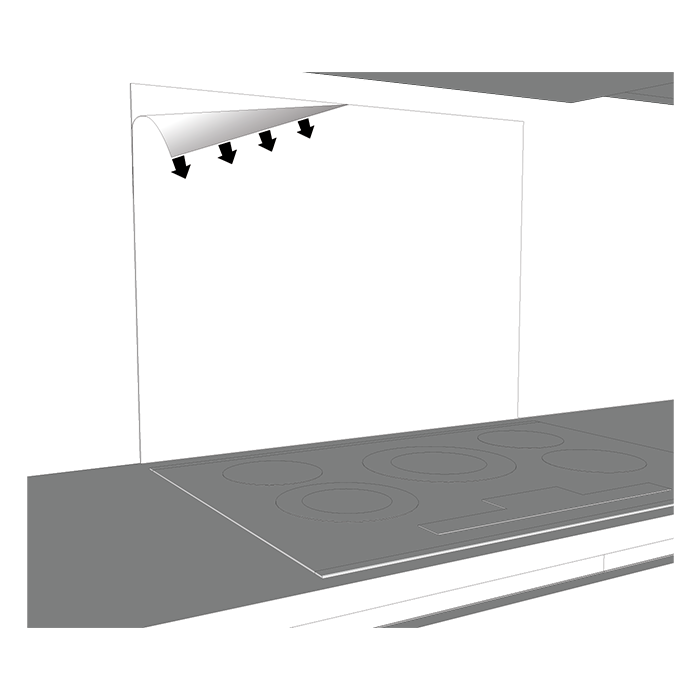
Step 5. Once the glue or adhesive is fully cured or dried, you may remove the support tape and the plastic coating. Finally, using a soft cloth, wipe down the surface with warm, soapy water and remove any fingerpringts or redsidue.
Sit back, relax and enjoy your new splashback.