
Products designed and developed
in the United Kingdom
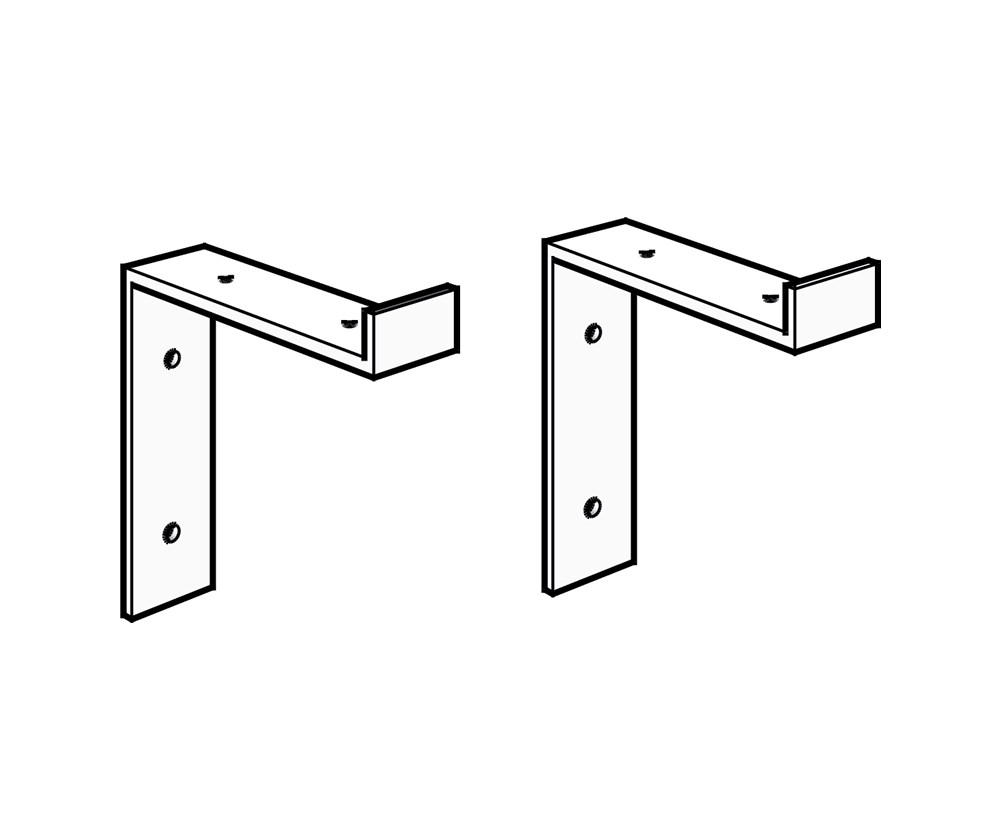
Shelf Brackets Installation Guide
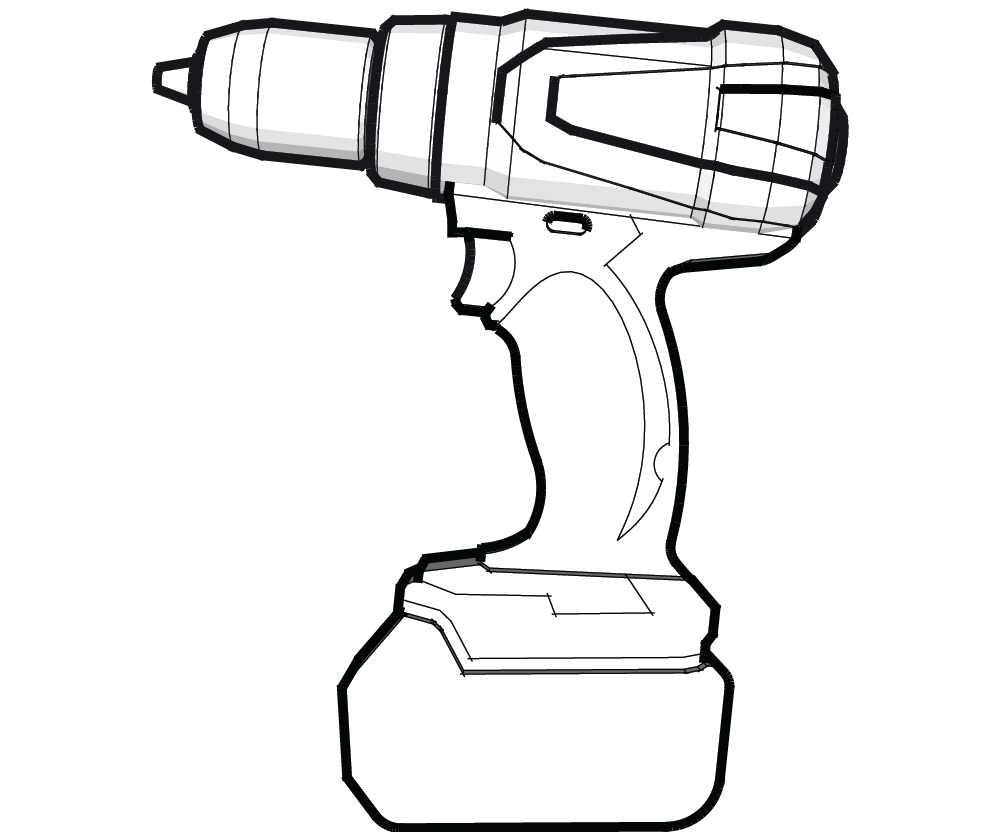
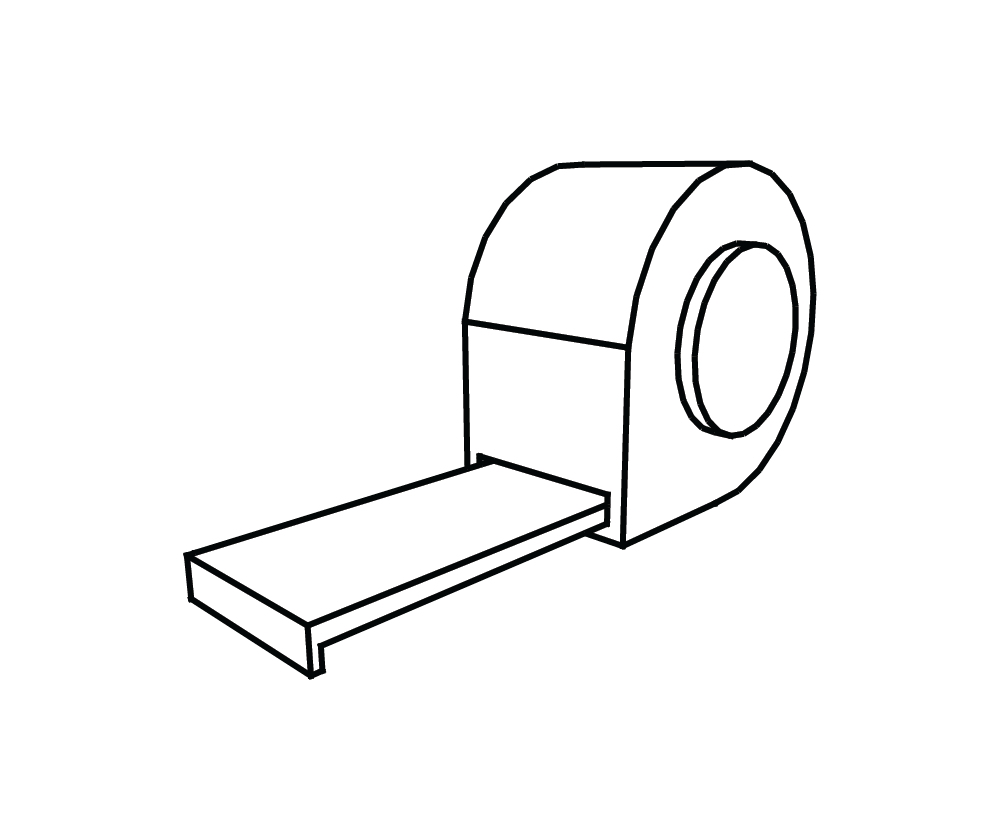
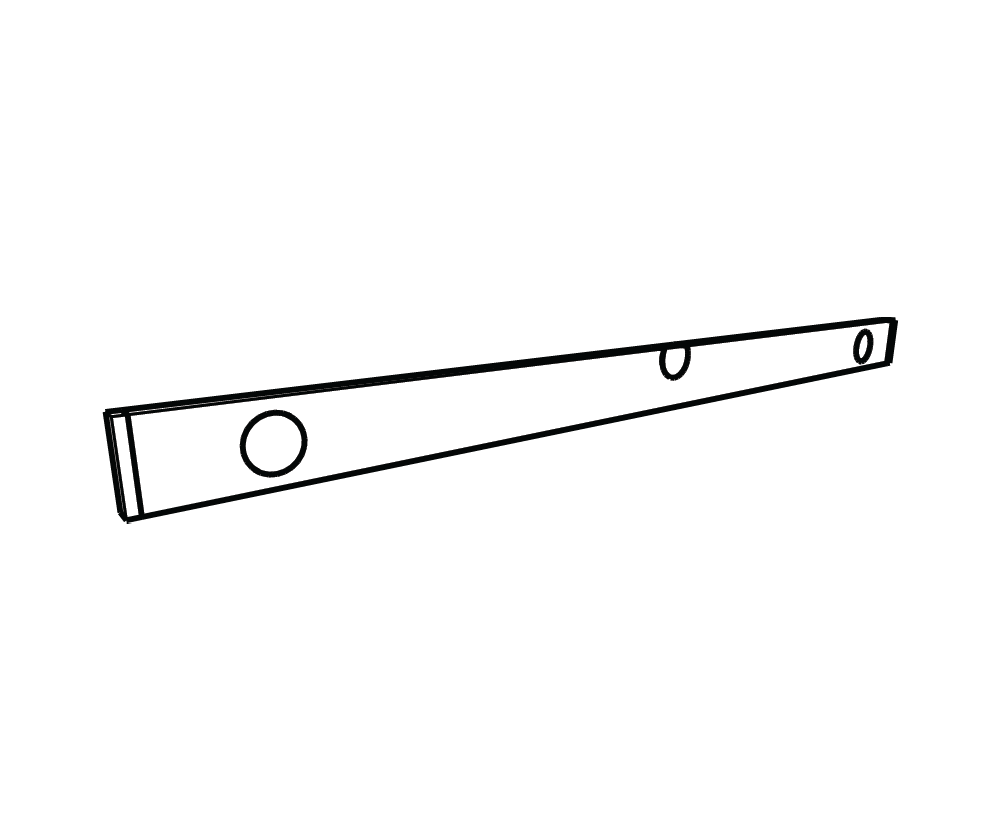
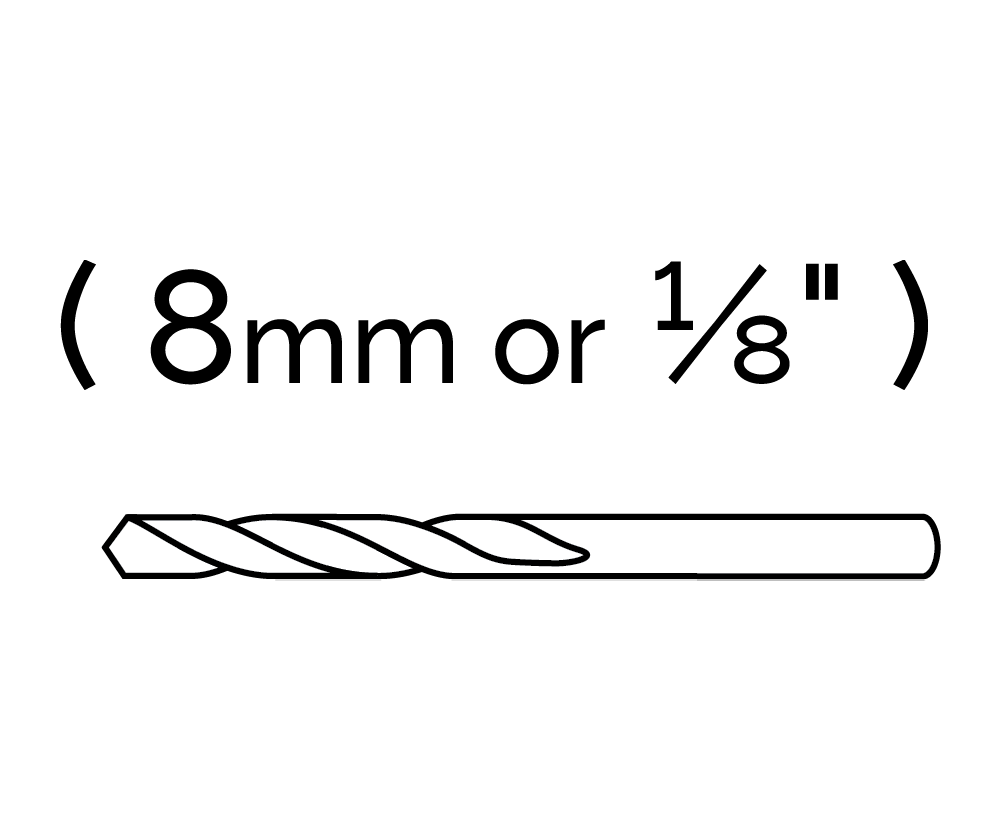
Tools you'll need
Safety First
- Use caution when handling heavy or bulky components to prevent injury or damage to yourself and the product.
- Always wear protective equipment, such as gloves or safety glasses, when using power tools to avoid accidents.
- Do not over-tighten screws or bolts, as this can damage the components or compromise the stability of the product.
- Please follow the provided instructions carefully to ensure proper assembly and use of the product.
- Keep small parts away from children or pets, as they can be a choking hazard.
- Inspect the product for any defects or damages before assembly, and contact us if you notice any issues.
- Please do not modify the product or use it for any purpose other than its intended use.
- Use caution when working with sharp tools or edges, and keep them away from children and pets.
- If you are uncertain about any aspect of the assembly process, seek assistance from a professional or contact us for further assistance.
- Take care when installing to ensure that the shelves are mounted at suitable and safe heights, in particular with regard to children or pets.
- Do not sit or stand on the product.
- Use a pipe or cable detector to check that the area is free from pipes or electric cables. To aid installation, you could also use a stud detector to indicate where the vertical beams (studs) and horizontal beams (noggins) are.
- This product is not intended to support heavy objects. Avoid placing excessive weight to prevent damage and instability. MAX 20 Kg per shelf (distributed weight).

Instructions

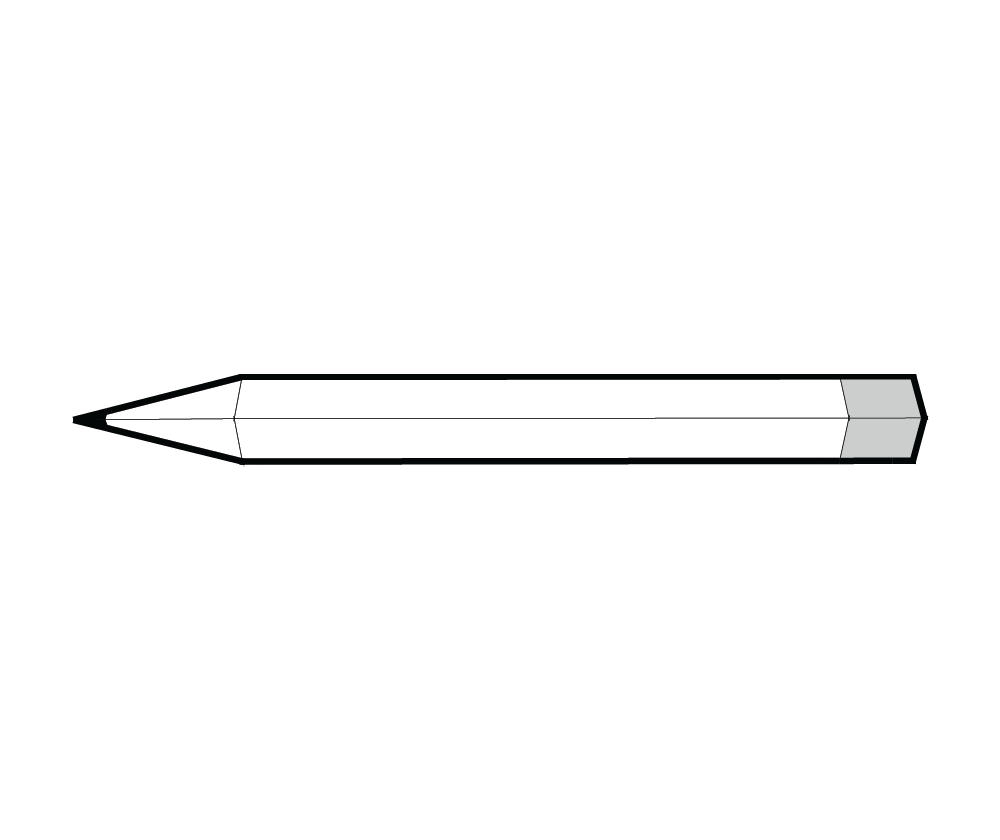
Step 1. Please read the Safety Guidelines stated above before you start assembling the product. Position the first bracket on your wall, ideally on a stud or blocking. Mark the top-most screw hole with the pencil or with a screw tip. Remove the bracket from the wall.
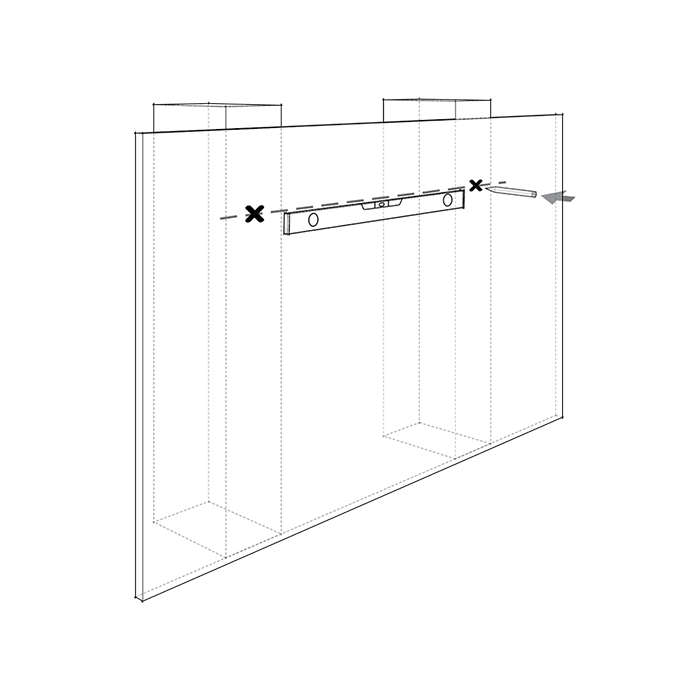
Step 2. Repeat for each additional bracket by measuring the horizontal spacing from your first pencil mark. Place a level on the first screw hole to find the position of the second one. Mark the position of the second screw hole with a pencil. (¹)
Step 3. Reposition the brackets and mark the vertical position on the wall of any other bracket holes.
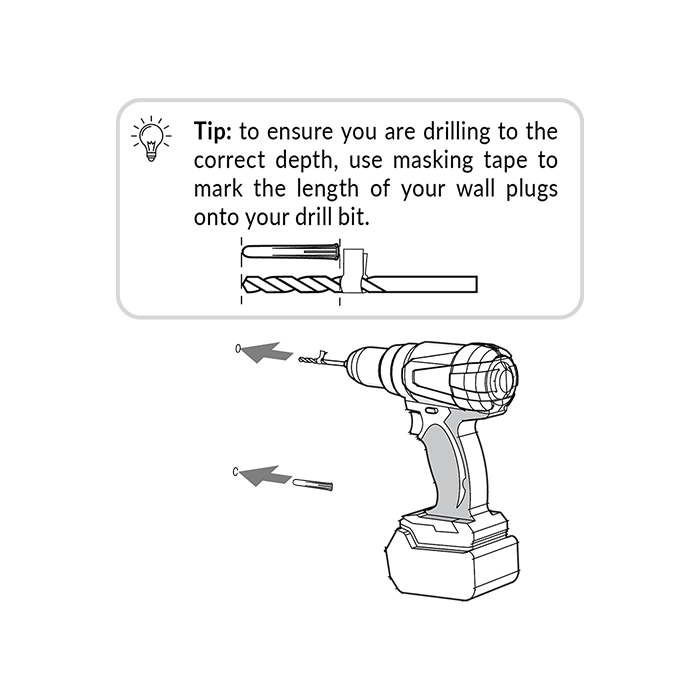
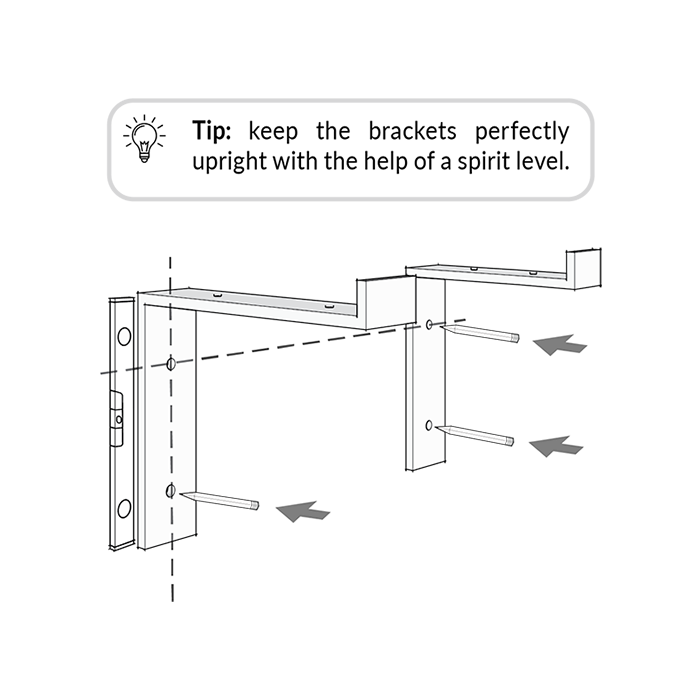
Step 4. If installing directly onto a wall stud or blocking, skip this step. If not, you will require wall plugs. Wearing eye protection, drill all screw locations with an 8mm drill bit. Once the holes have been drilled, install wall plugs by placing them into the holes you have drilled and push/tap them into the wall until flush.
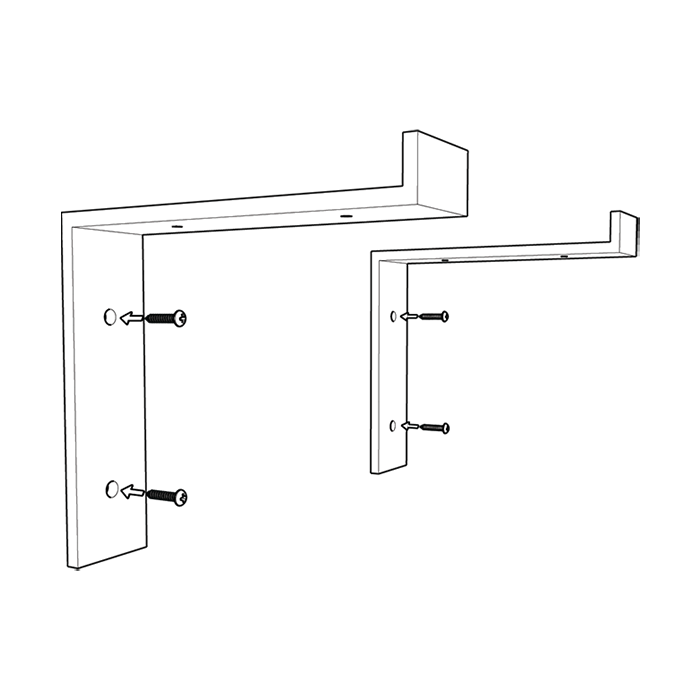
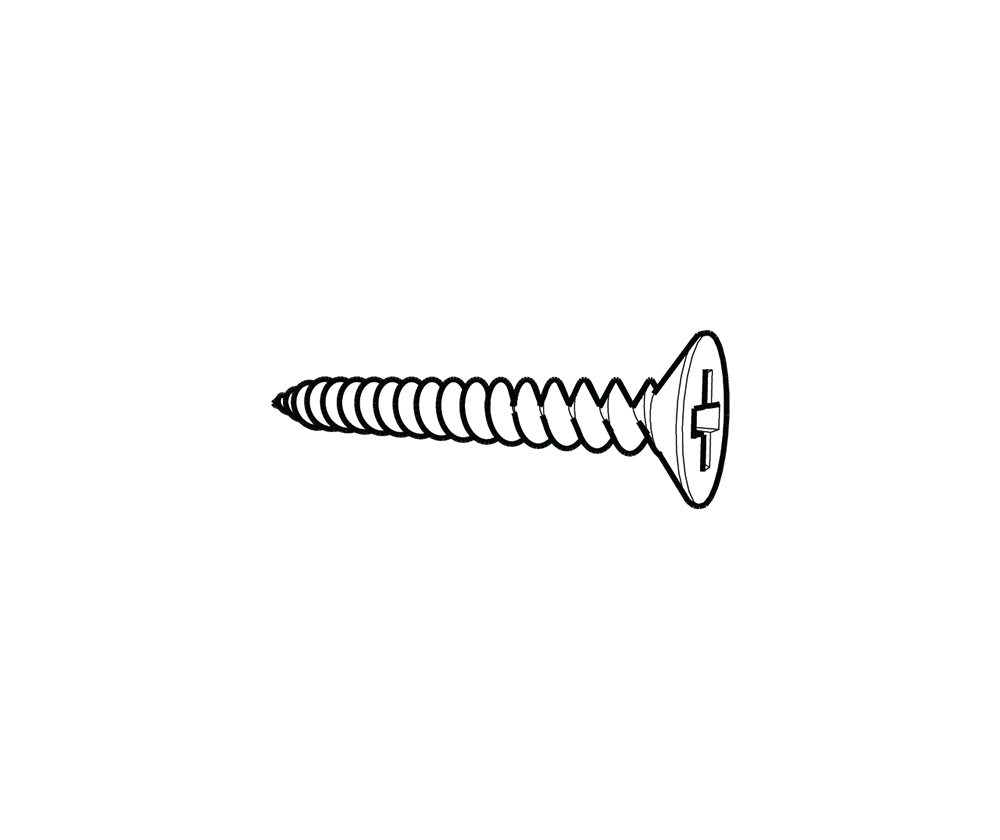
Step 5. Secure all brackets onto the wall using the long screws provided.
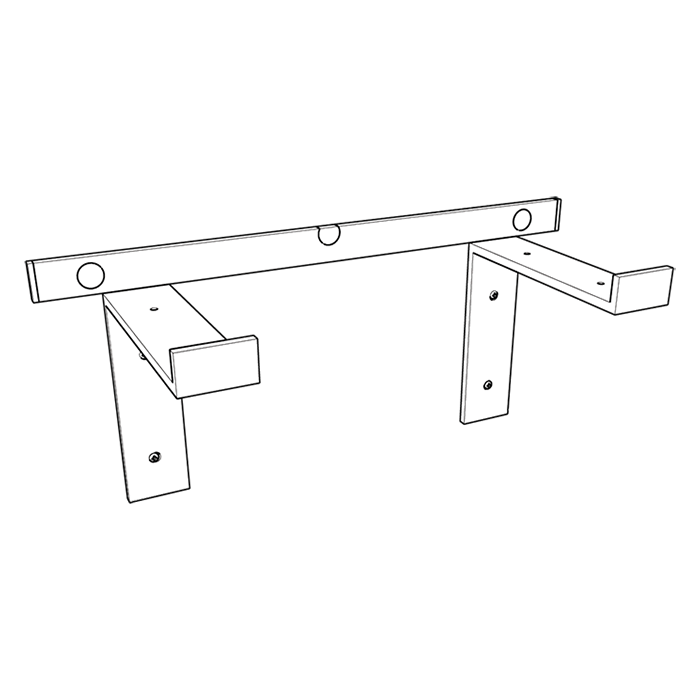
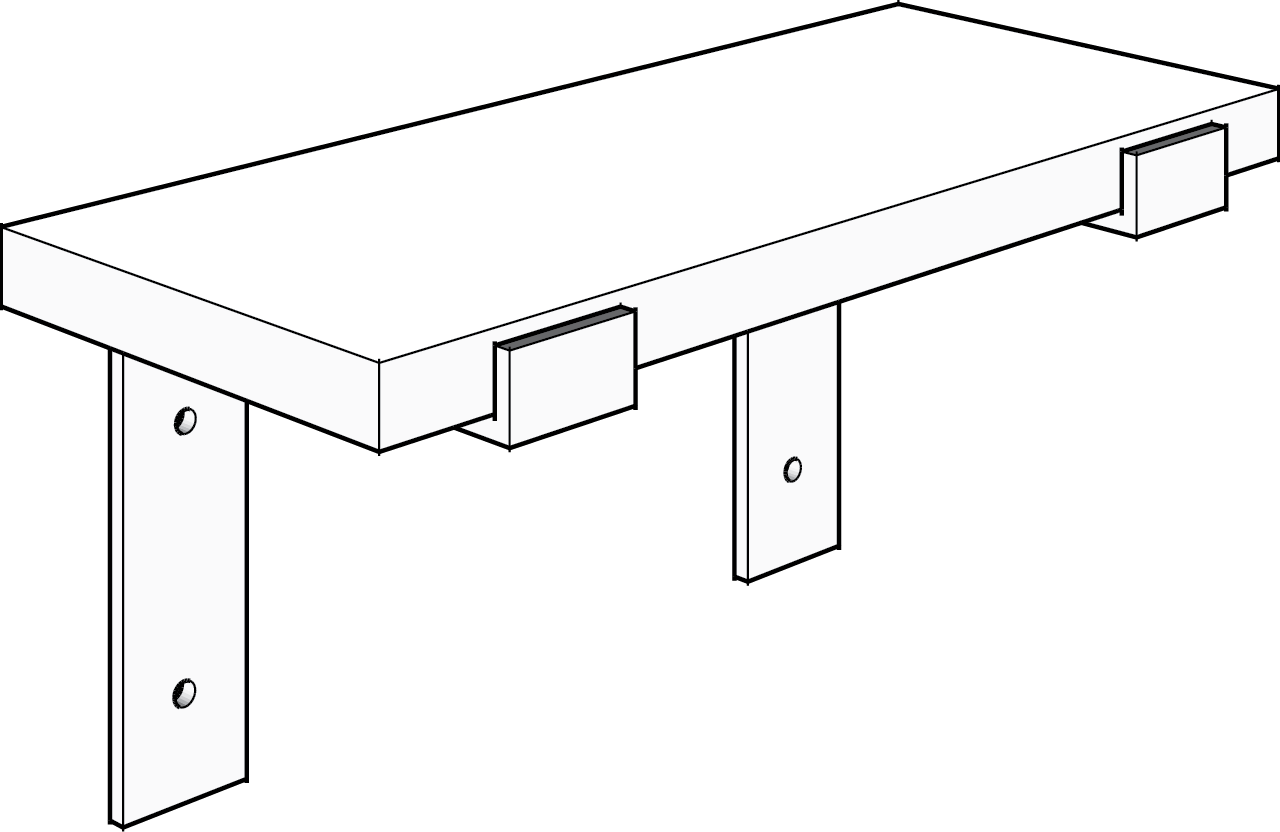
Step 6. Before installing the shelf, place the level onto the brackets to ensure they are level. Once happy, place the shelf on top.
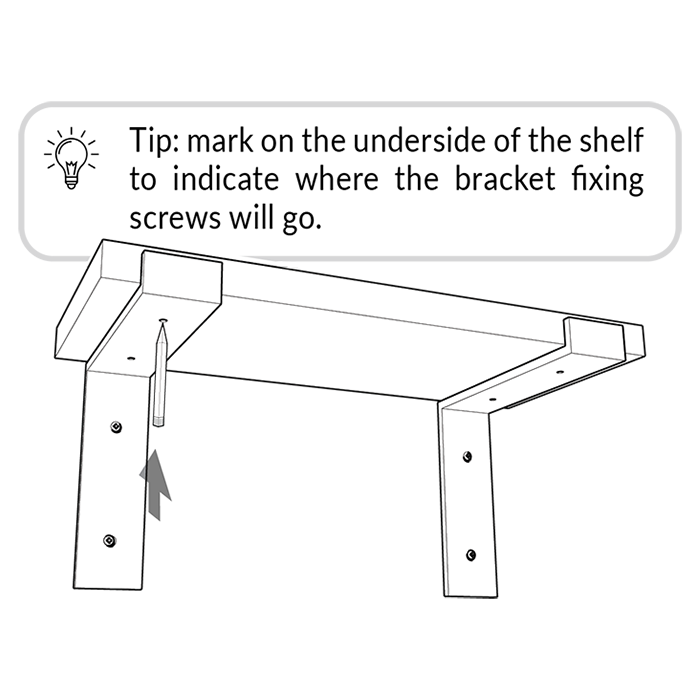
Step 7. Remove the shelf, and drill short pilot holes into the bottom of the shelf where indicated with the marks, taking care not to drill too deeply.
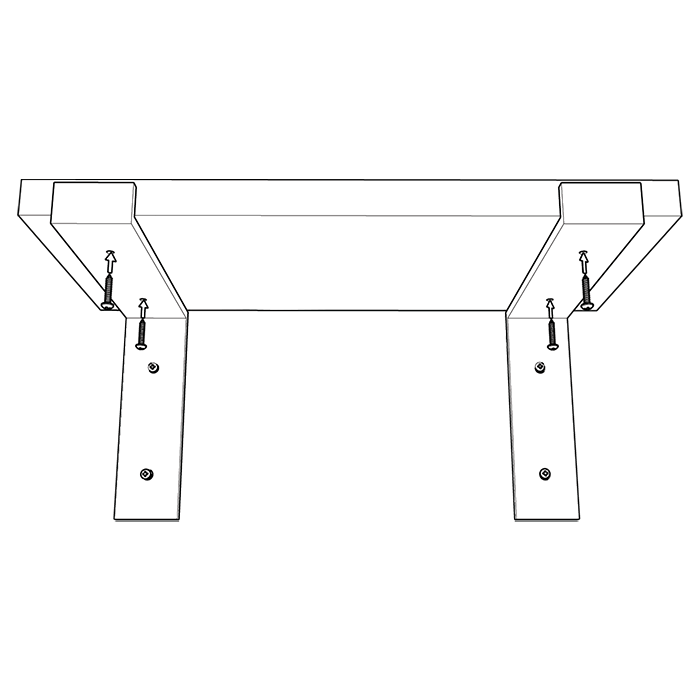
Step 8. Secure the shelf onto the bracket using the short screws provided.
(¹) Please note that we recommend two brackets for shelves up to and including 900mm in length. Shelves of length 1200mm+ require three brackets per shelf.