
Products designed and developed
in the United Kingdom
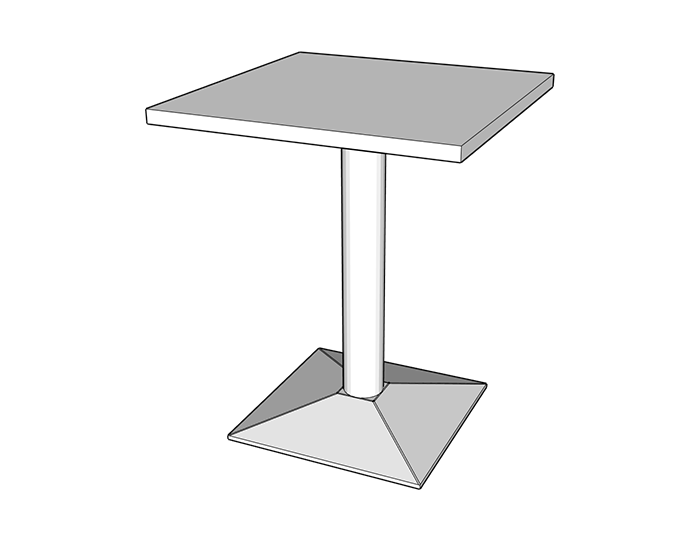
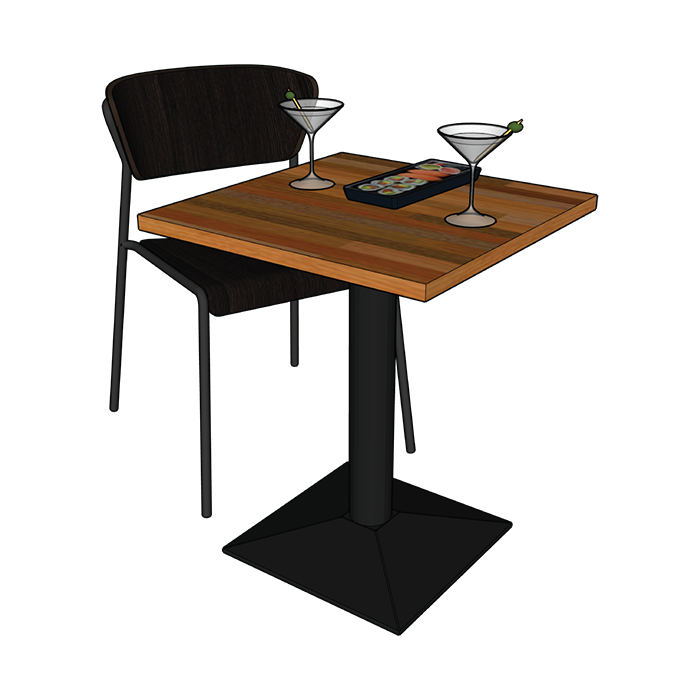
Premium Pedestal Base (with Wood Top) Installation Guide
Safety First
- Use caution when handling heavy or bulky components to prevent injury or damage to yourself and the product.
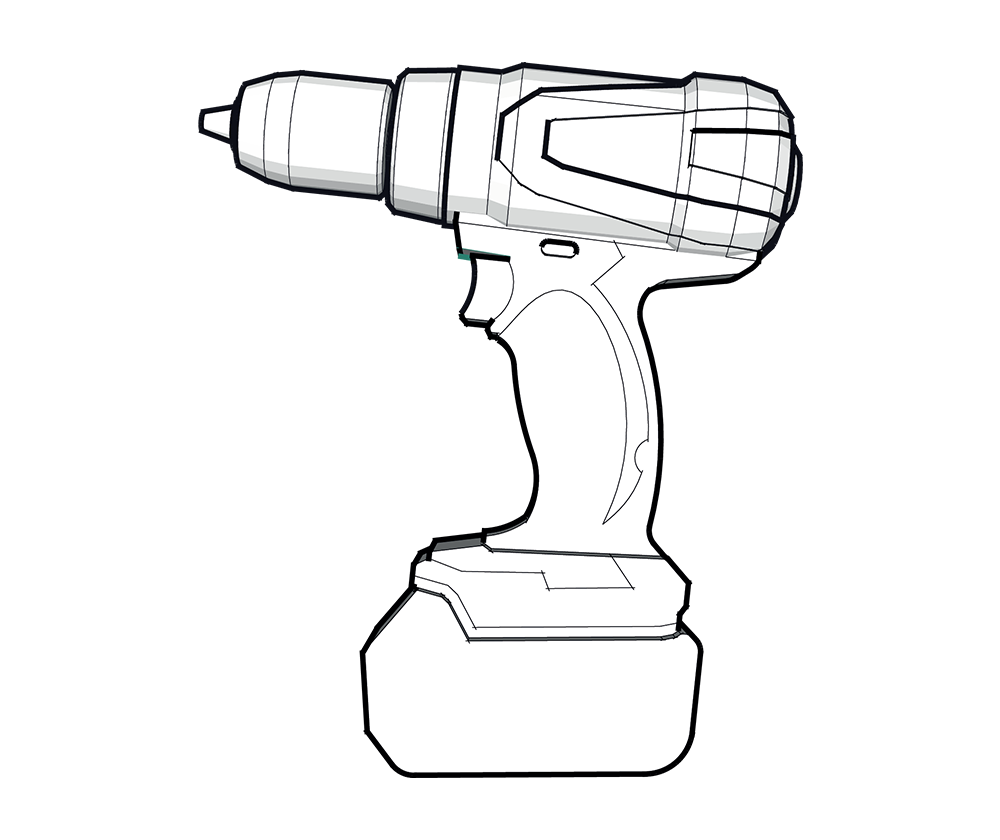
- Always wear protective equipment, such as gloves or safety glasses, when using power tools to avoid accidents.
- Do not over-tighten screws or bolts, as this can damage the components or compromise the stability of the product.
- Please follow the provided instructions carefully to ensure proper assembly and use of the product.
- Keep small parts away from children or pets, as they can be a choking hazard.
- Inspect the product for any defects or damages before assembly, and contact us if you notice any issues.
- Please do not modify the product or use it for any purpose other than its intended use.
- Use caution when working with sharp tools or edges, and keep them away from children and pets.
- If you are uncertain about any aspect of the assembly process, seek assistance from a professional or contact us for further assistance.
- Do not sit or stand on the product.
- This product is not intended to support heavy objects. Avoid placing excessive weight to prevent damage and instability. MAX 10 Kg.

Instructions
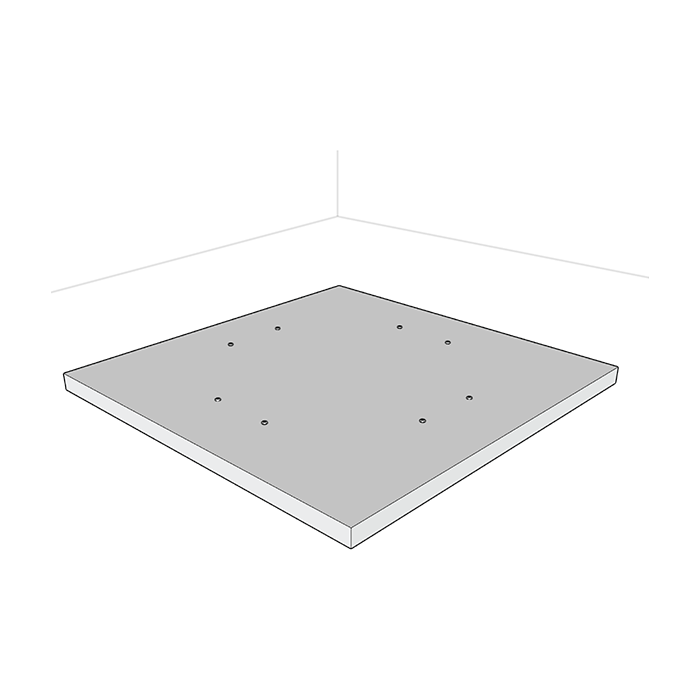
Step 1. Please read the safety guidelines stated above before you start to assemble the product. To prevent scratching on the surface, place the top on a protected surface. Ensure that there is ample space around the top for you to work comfortably.
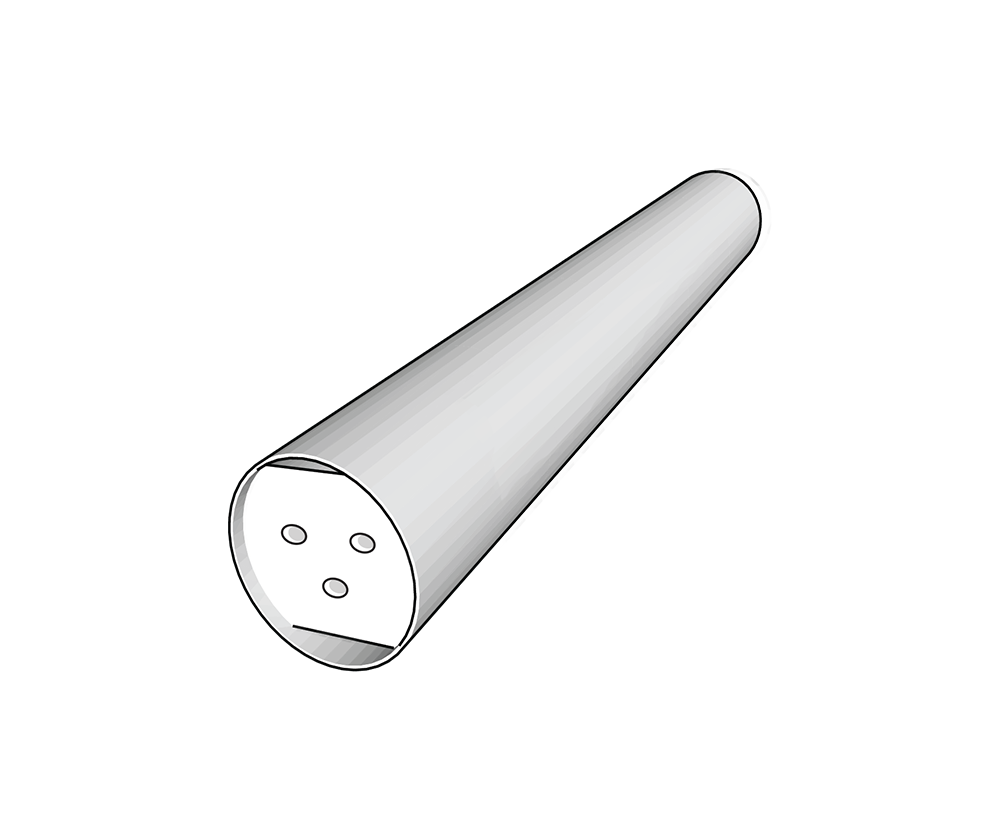
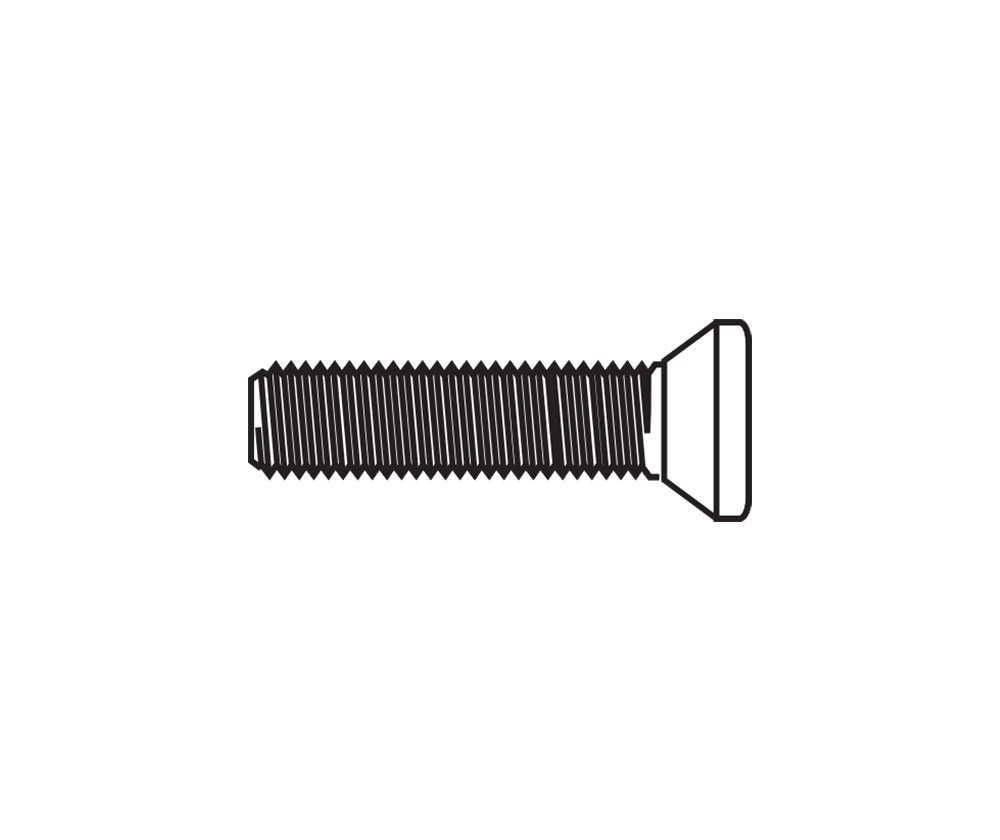
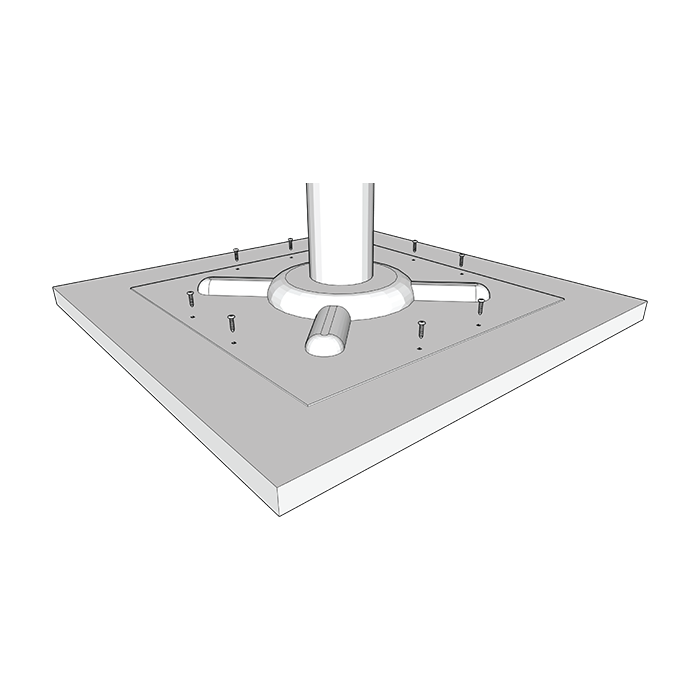
Step 2. Fasten the pedestal base to one end of the upright using 3x M8 Allen bolts. For best results, initially tighten the bolts by hand, leaving them slightly loose. Once all bolts are in place and properly aligned, proceed to tighten them fully.

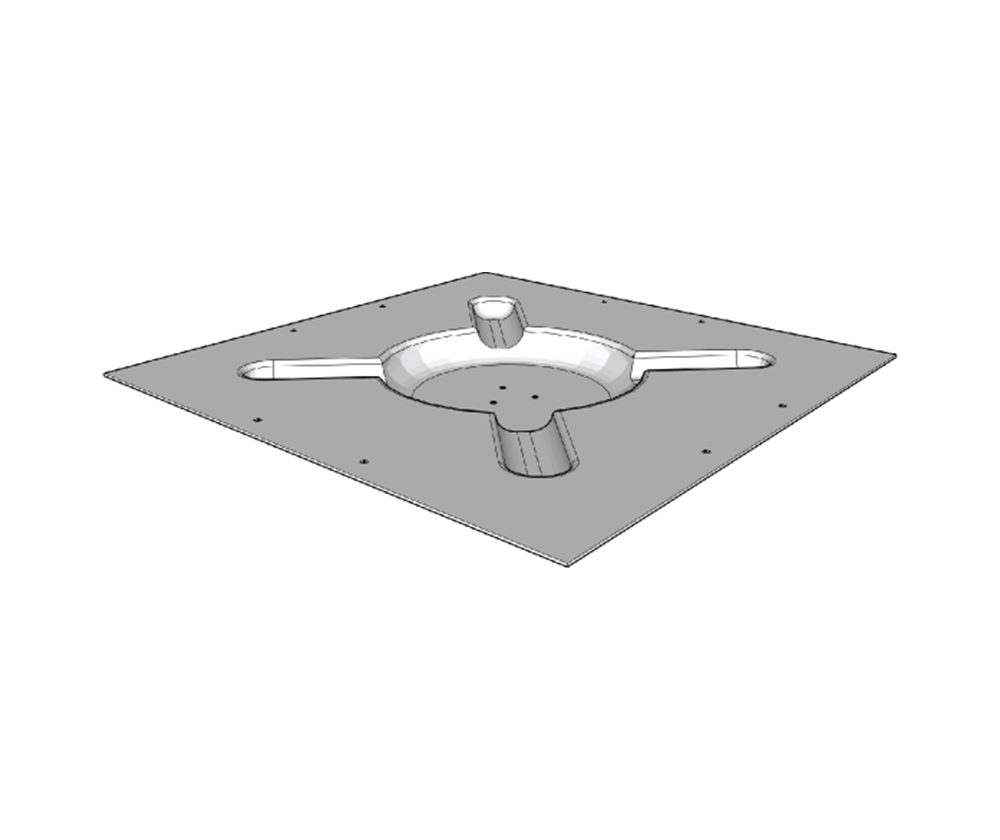
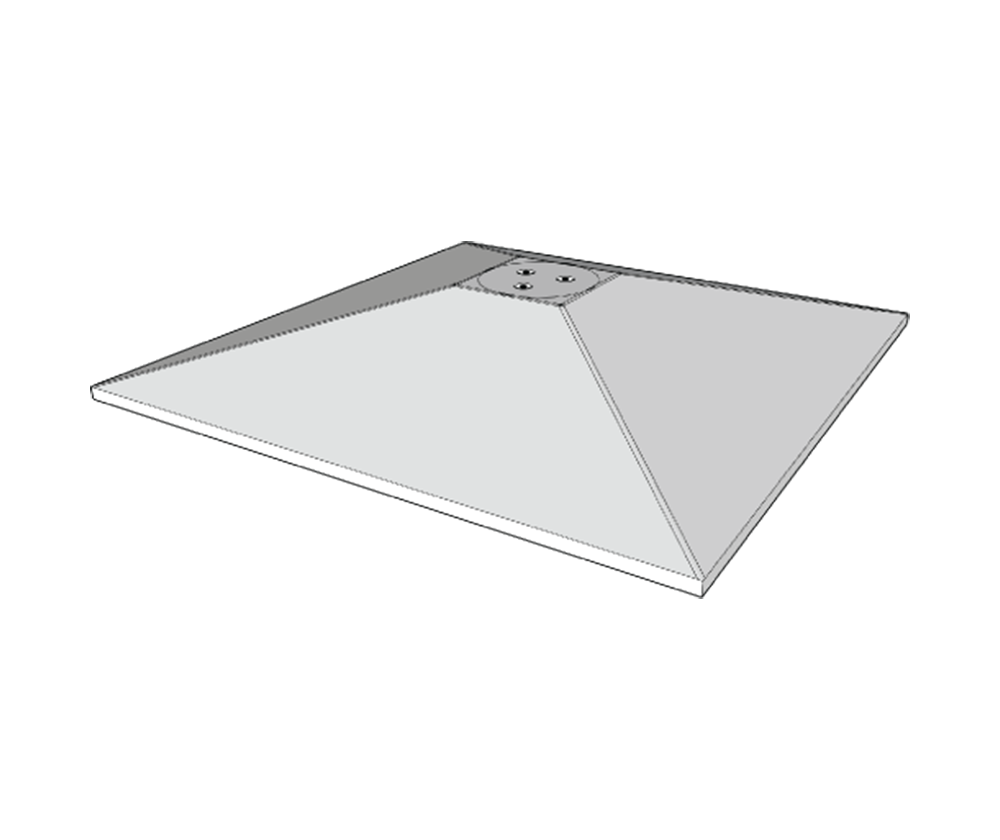
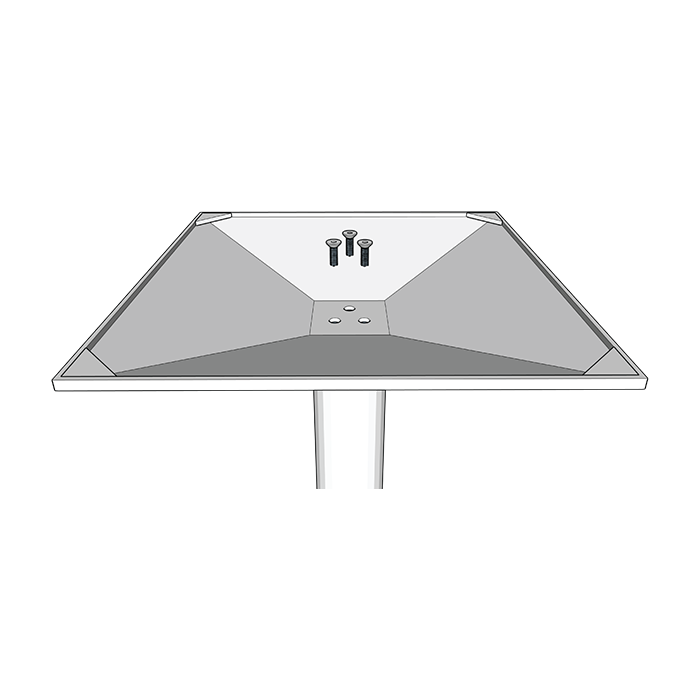
Step 3. Align the 3 holes in the cylindrical upright with the holes in the top plate until it sits square with the base legs.
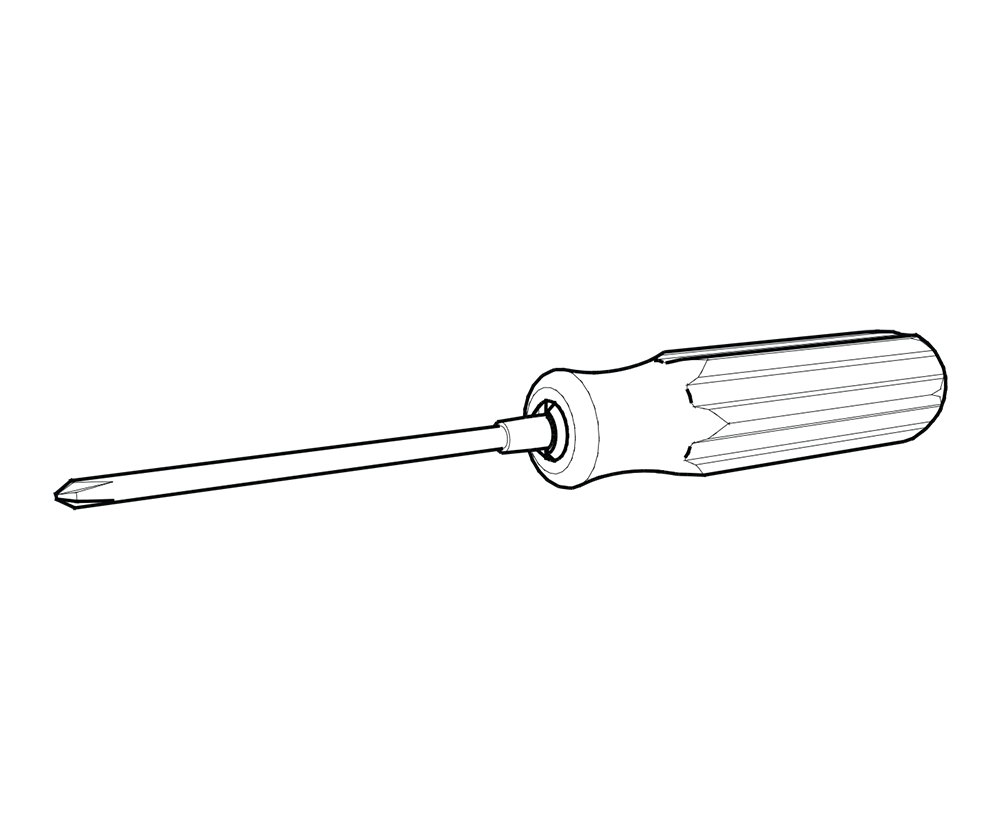
Fasten the top plate to the upright using the M8 Allen bolts using the M8 Allen Key. There are 3 fittings on both ends of the cylindrical upright. Please ensure all bolts are threaded correctly before tightening to avoid misalignment.
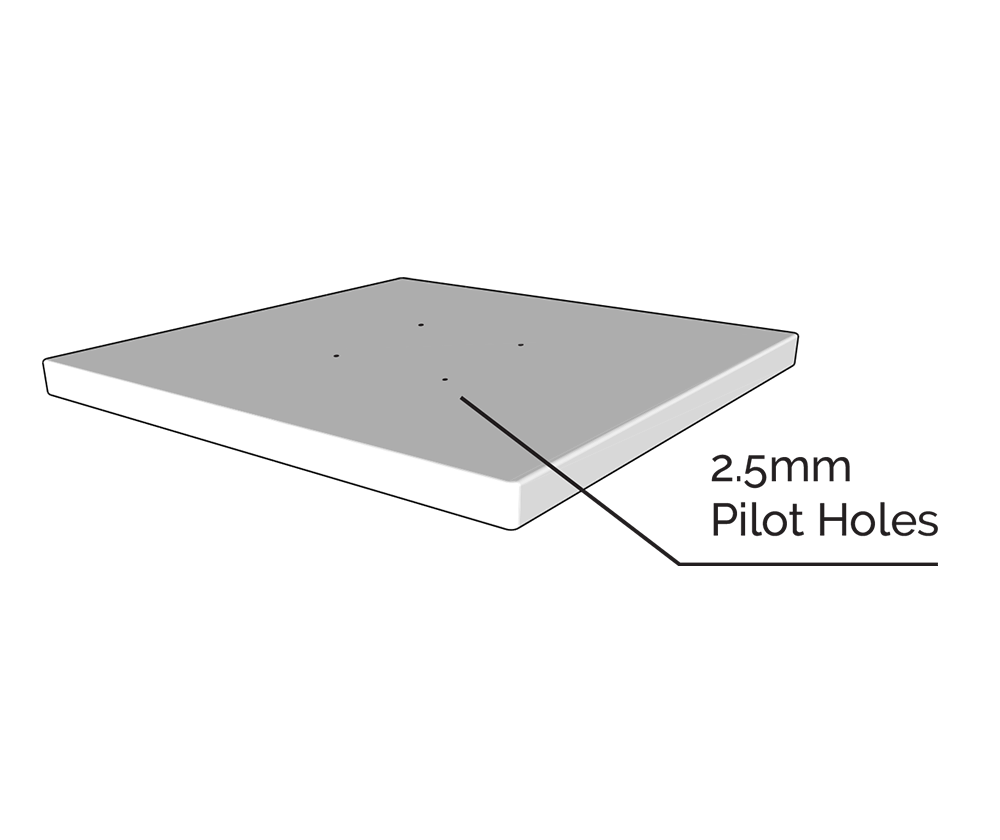
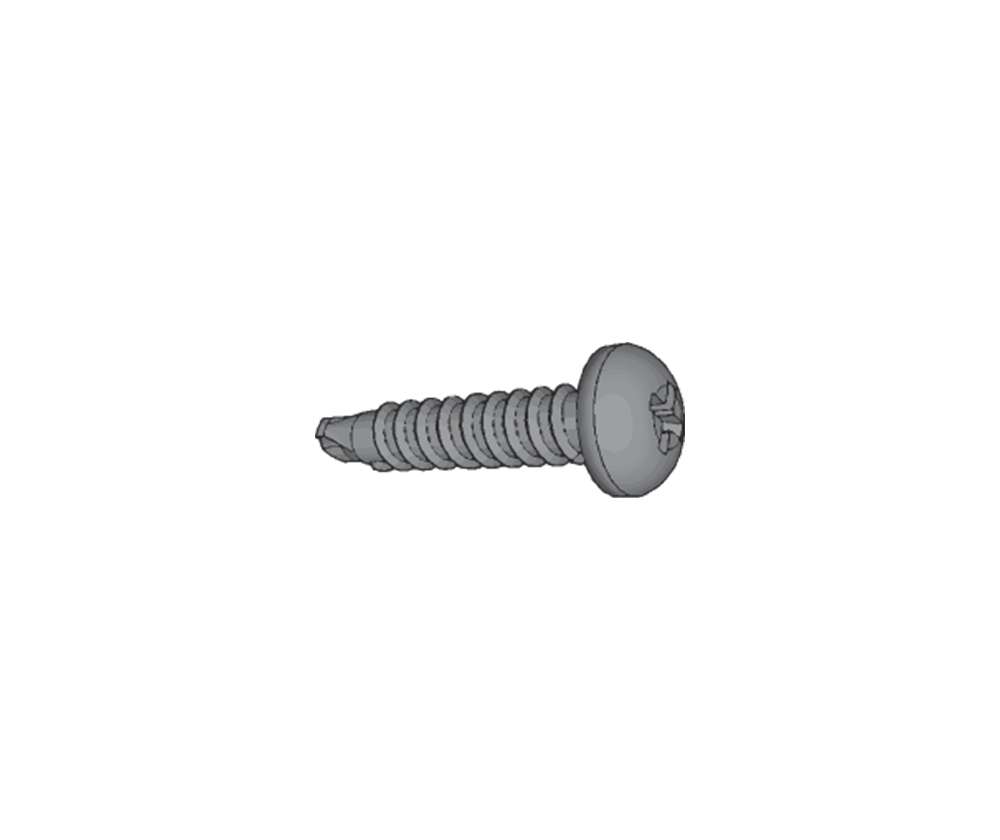
Step 4. Align the top plate holes to the pilot holes. Insert all the screws loosely at first, ensuring they are correctly aligned. Once all screws are in place, proceed to fully tighten them securely. Do not overtighten the screws. Finally, with the assistance of another person, carefully lift and place the table upright.
Now, sit back, relax and enjoy your new purchase!