
Products designed and developed
in the United Kingdom
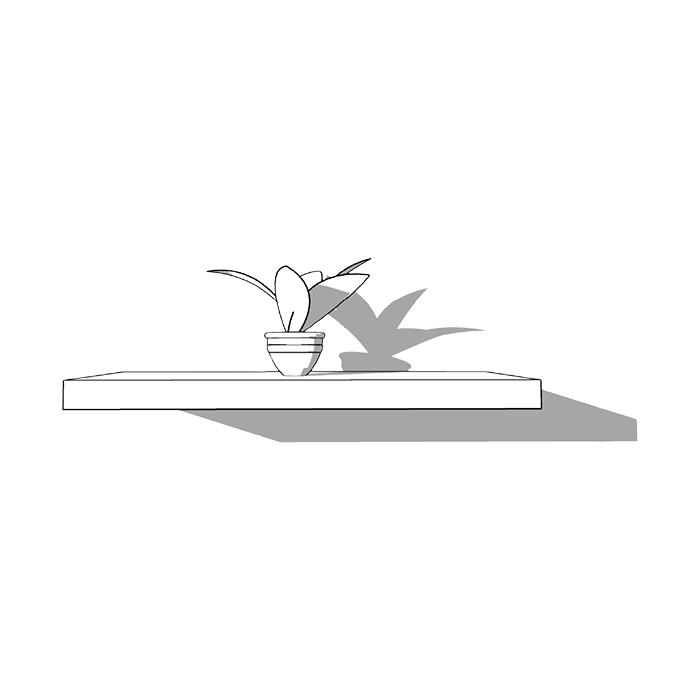
Floating Shelf Brackets Installation Guide
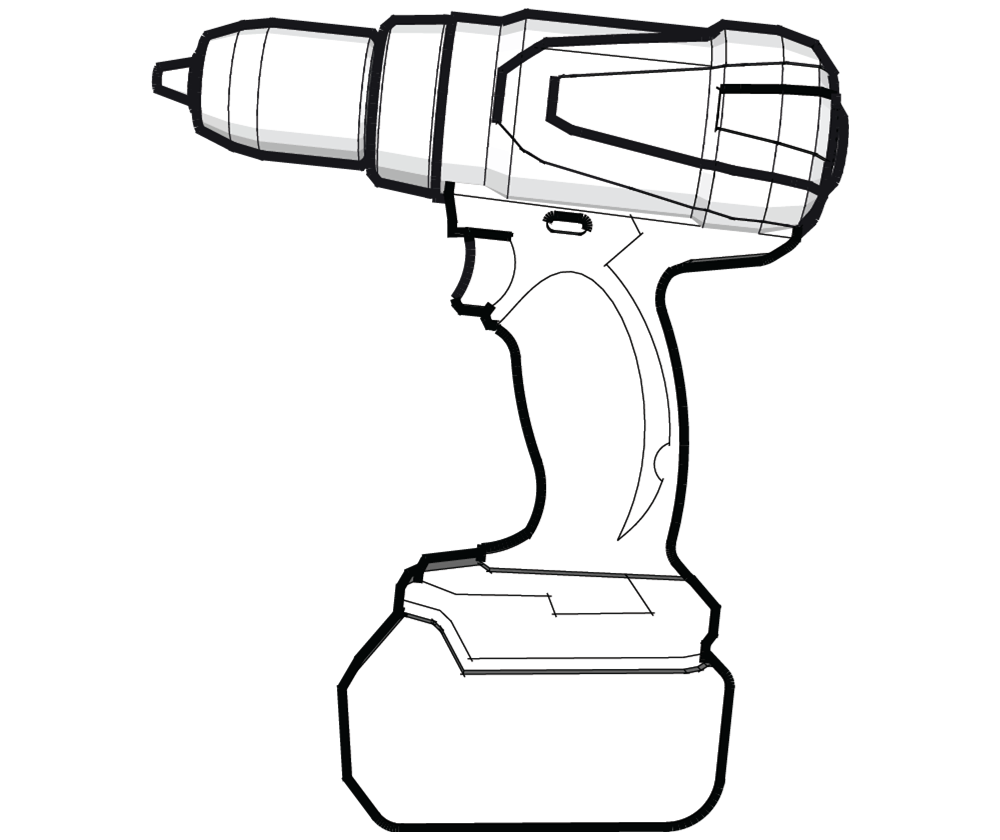
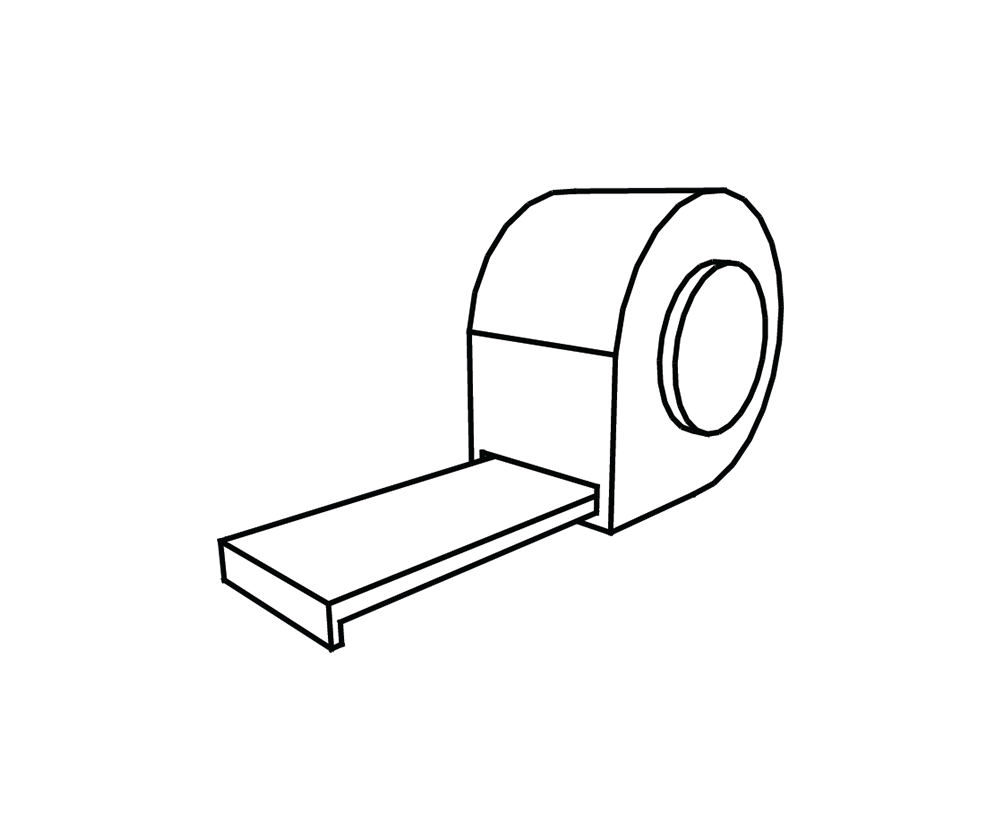
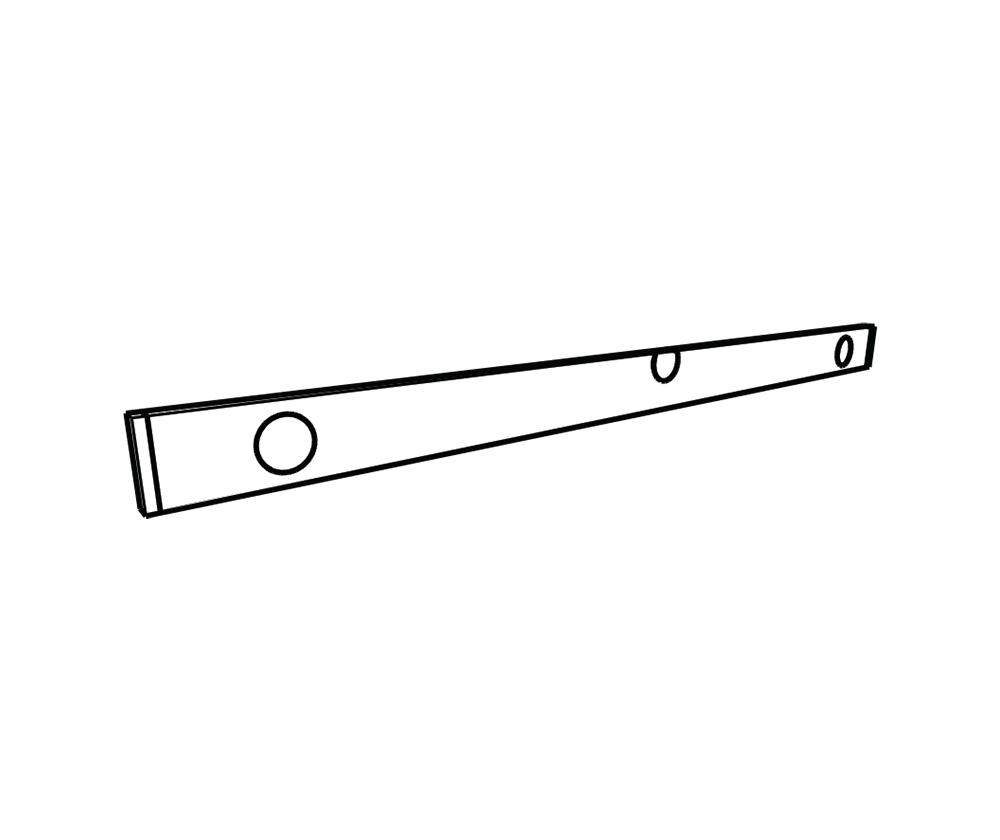
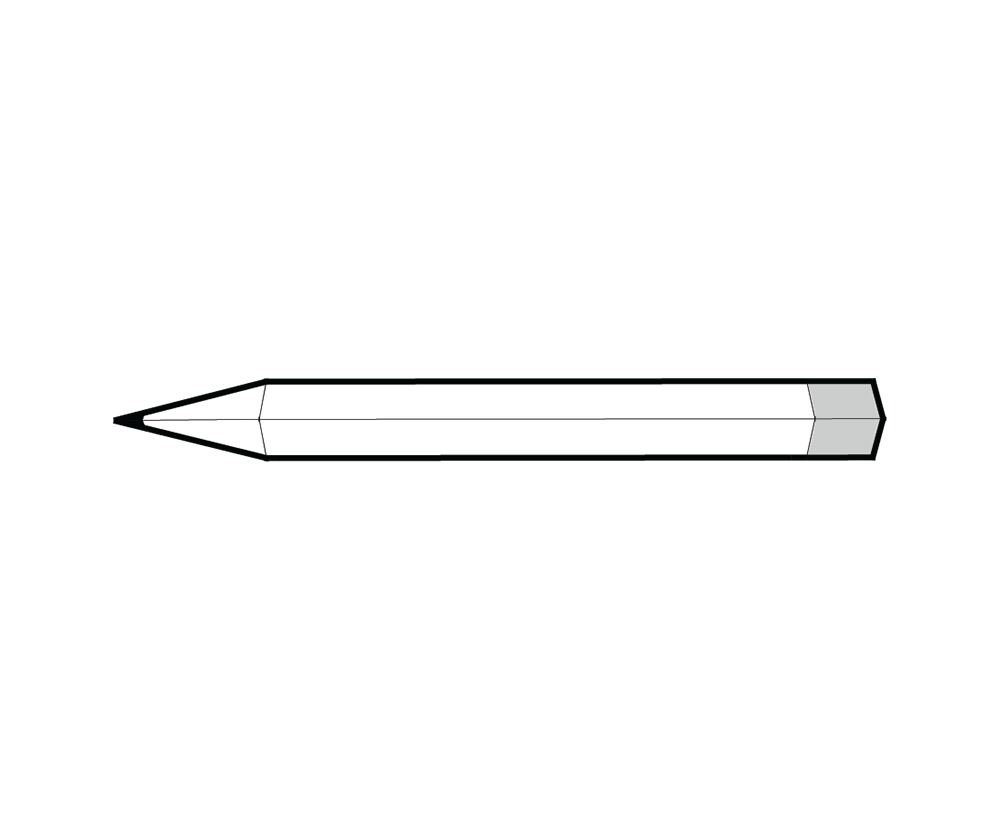
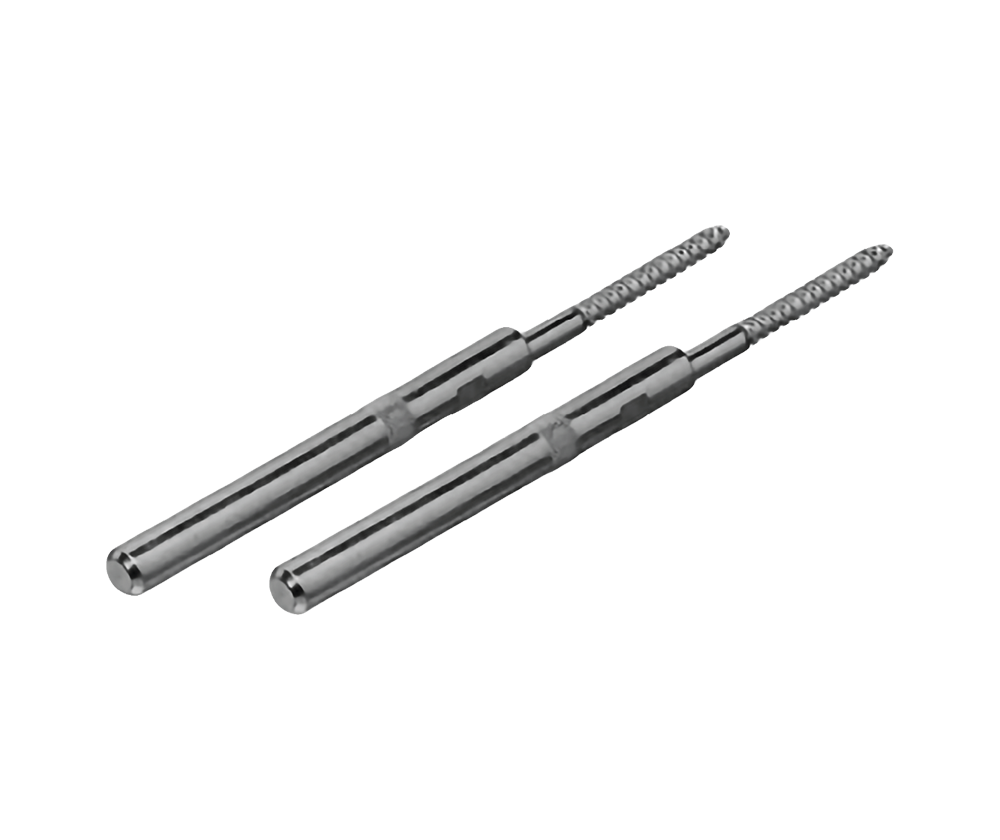
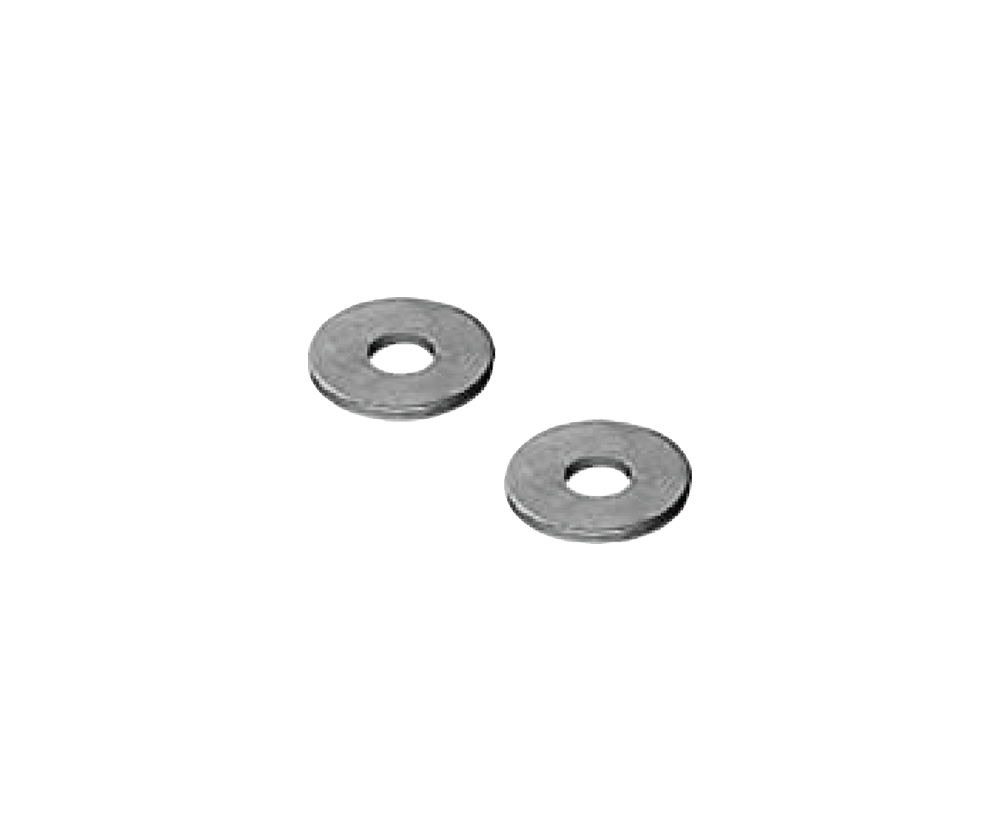
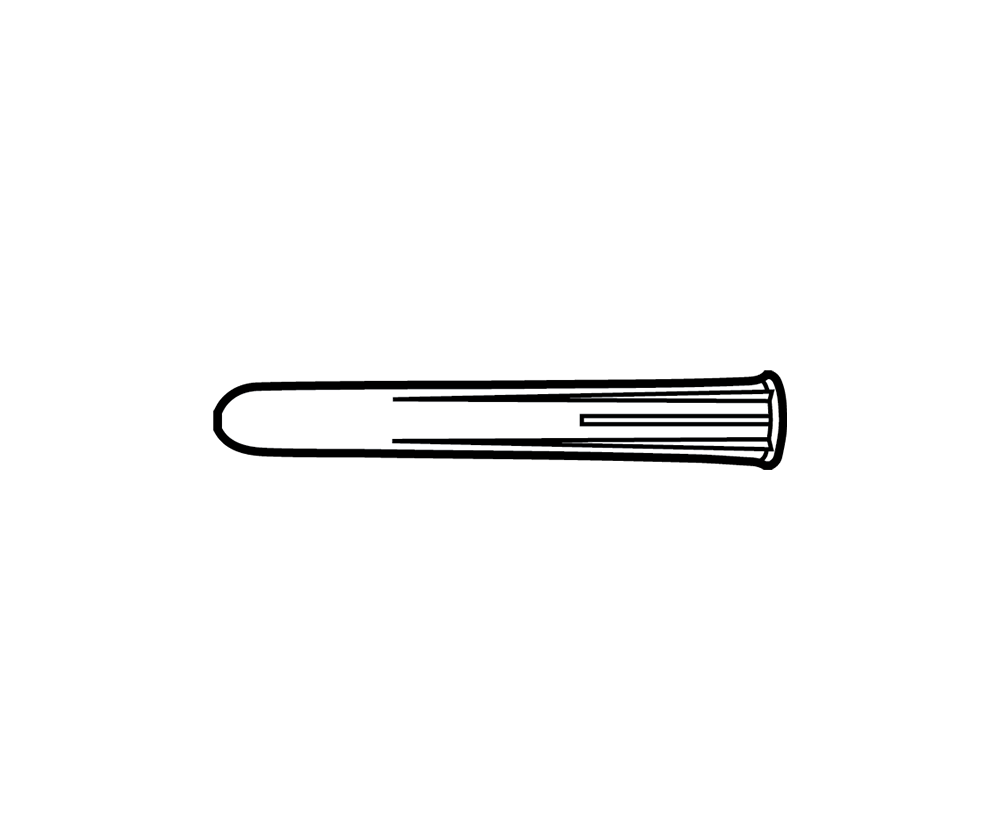
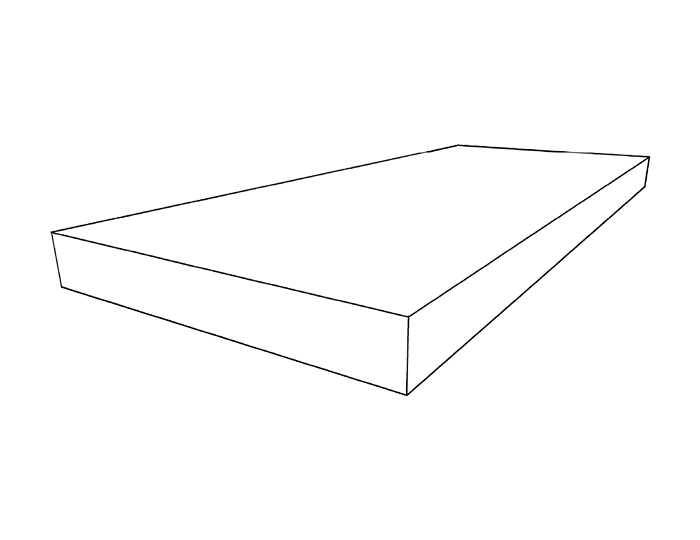
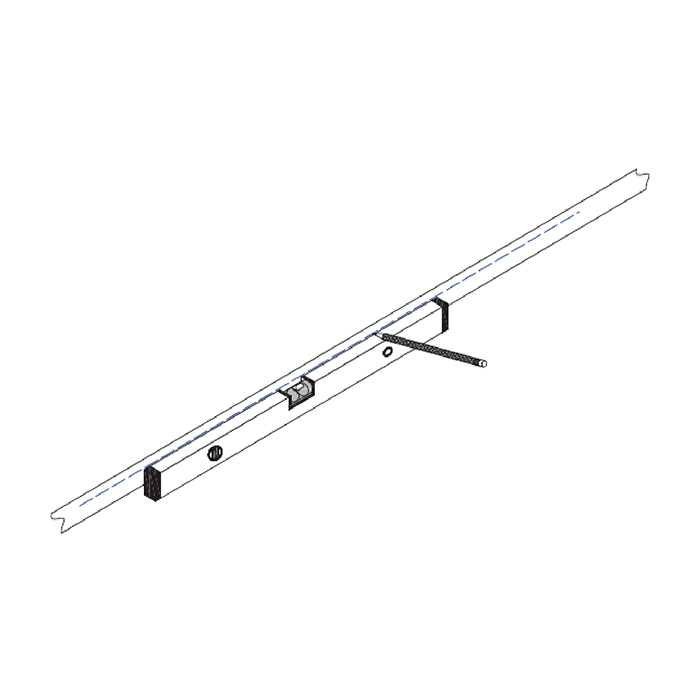
What's included
Safety First
- Use caution when handling heavy or bulky components to prevent injury or damage to yourself and the product.
- Always wear protective equipment, such as gloves or safety glasses, when using power tools to avoid accidents.
- Do not over-tighten screws or bolts, as this can damage the components or compromise the stability of the product.
- Please follow the provided instructions carefully to ensure proper assembly and use of the product.
- Keep small parts away from children or pets, as they can be a choking hazard.
- Inspect the product for any defects or damages before assembly, and contact us if you notice any issues.
- Please do not modify the product or use it for any purpose other than its intended use.
- Use caution when working with sharp tools or edges, and keep them away from children and pets.
- If you are uncertain about any aspect of the assembly process, seek assistance from a professional or contact us for further assistance.
- Take care when installing to ensure that the shelves are mounted at suitable and safe heights, in particular with regard to children or pets.
- Do not sit or stand on the product.
- Use a pipe or cable detector to check that the area is free from pipes or electric cables. To aid installation, you could also use a stud detector to indicate where the vertical beams (studs) and horizontal beams (noggins) are.
- This product is not intended to support heavy objects. Avoid placing excessive weight to prevent damage and instability. MAX 20 Kg per shelf (distributed weight).

Instructions
Step 1. Please read the Safety Guidelines stated above before you start assembling the product. Start by placing masking tape on the wall where you are planning on positioning your new shelf. Next, use the spirit level to mark a straight live across the masking tape with your pencil.

Step 2. Using your tape measure, find the centre points of the holes on the rear of the shelf, and then mark these points on to your previously-drawn line.
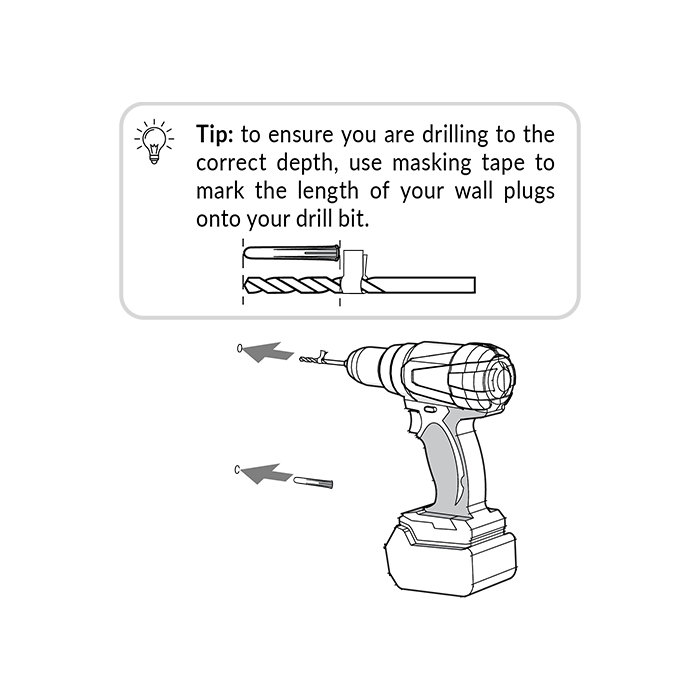
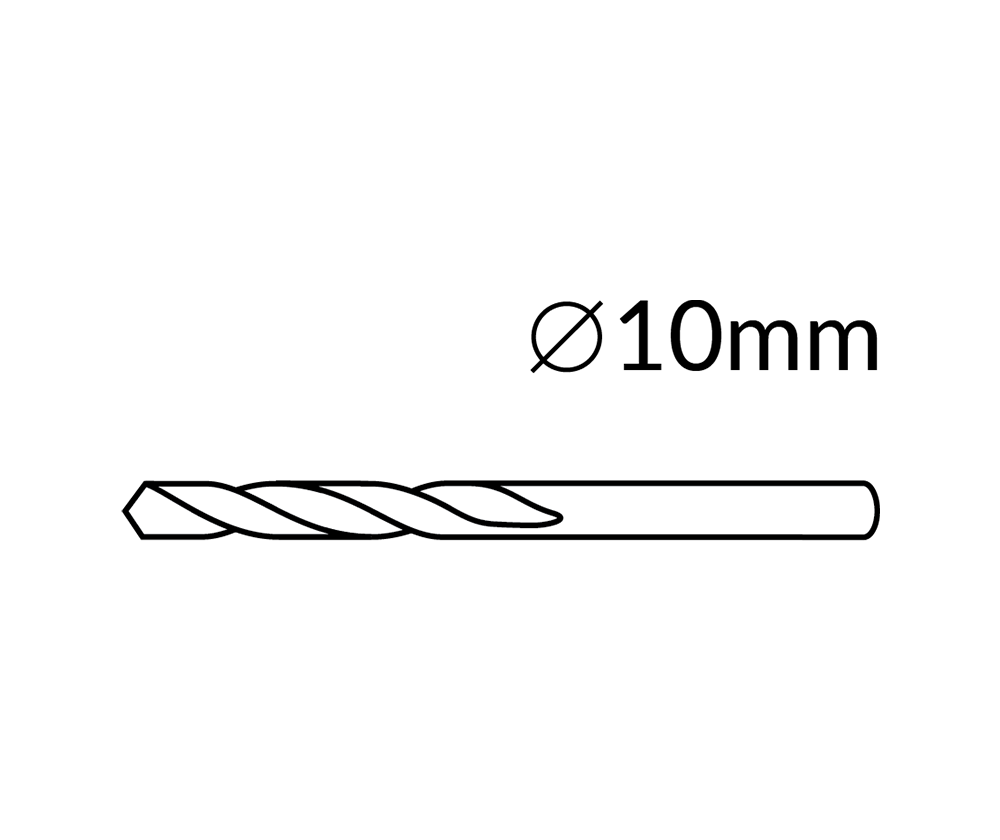
Step 3. Insert your 10mm masonry drill bit in to the drill and make sure it is held in tightly. Be sure to use eye-protection, then drill a hole of 70mm deep at each point marked. Ensure the drill is straight and that you apply pressure evenly when drilling. Insert the plastic wall-plug included with the bracket into the holes you've drilled and pish in to the wall until flush.
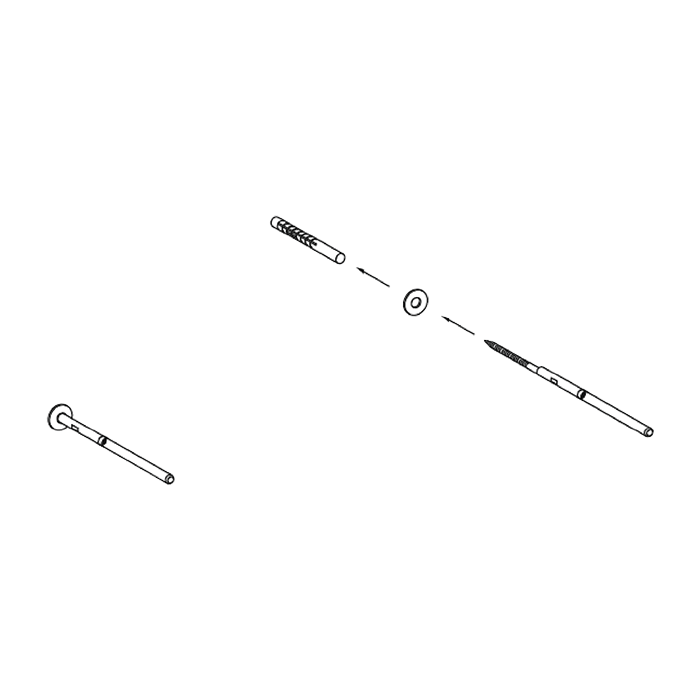
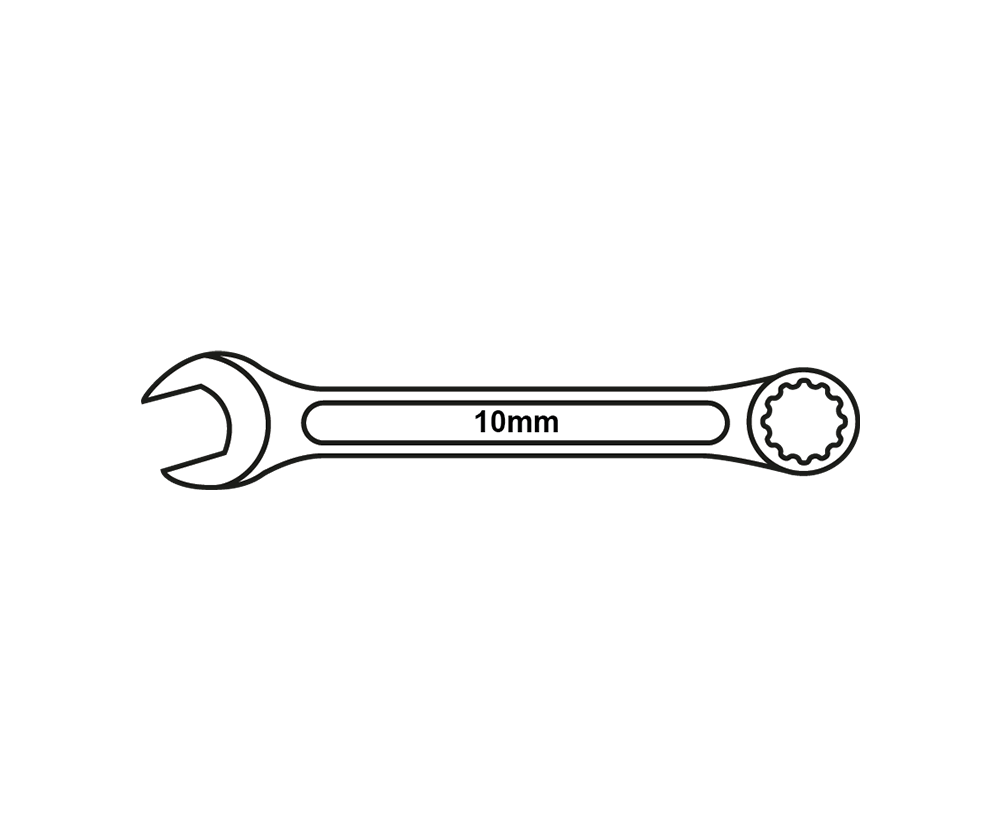
Step 4. Next, put the washer onto the screw-end of the shelf brackets, and then insert the supports in to the holes, using a spanner to tighten them up sufficiently. (¹)
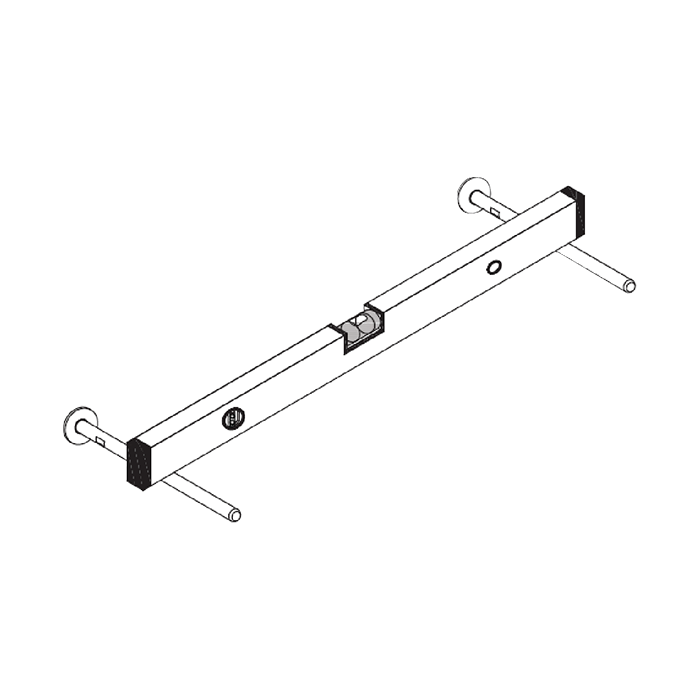
Step 5. Use a spirit level to ensure that the brackets are pointing out of the wall straight and horizontally, so that you can be sure your shelf will sit flat.
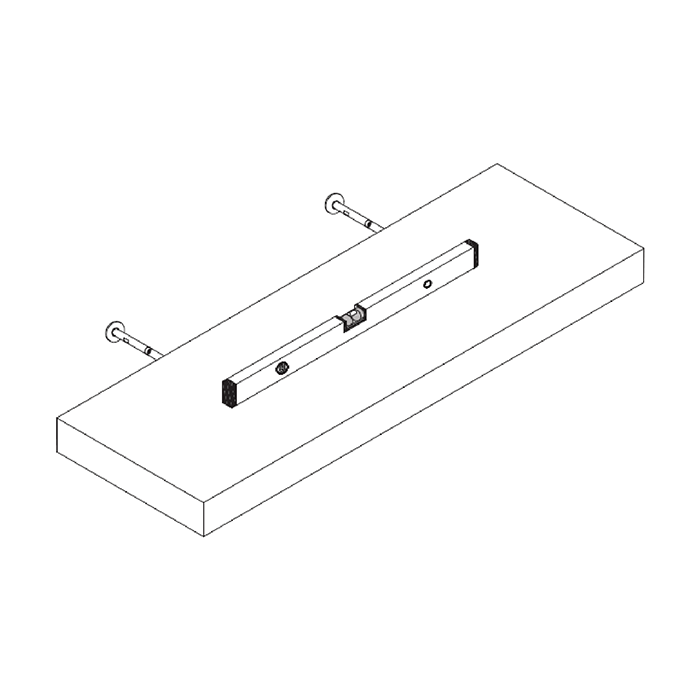
Step 6. Finally, you're ready to push the shelf on to the brackets. Take care, proceed slowly and check once more with the spirit level to ensure that your shelf is flat.
Step 7. Gently push the shelf towards the wall, applying even pressure in order to keep it parallel to the wall until it reaches its final position.
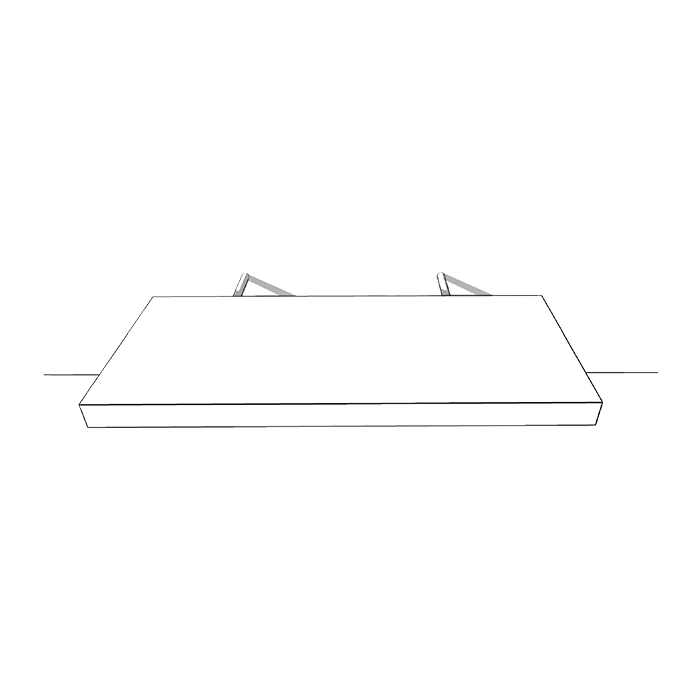
Now, take a step back and admire your new purchase!
(¹) Please note: The supplied brackets are designed for installation into masonry, concrete block, or timber stud walls only. Ensure that you line up the supports with the studs wherever possible for secure fixing. Please take care when installing to ensure that the shelves are mounted at suitable and safe heights (particularly in areas that children may frequent). Similarly, if you feel there is a possibility that you will be storing moderately heavy items on the shelving, or that these will be placed in areas utilised by children, we recommend purchasing additional oak battens for extra support.