


Products designed and developed
in the United Kingdom
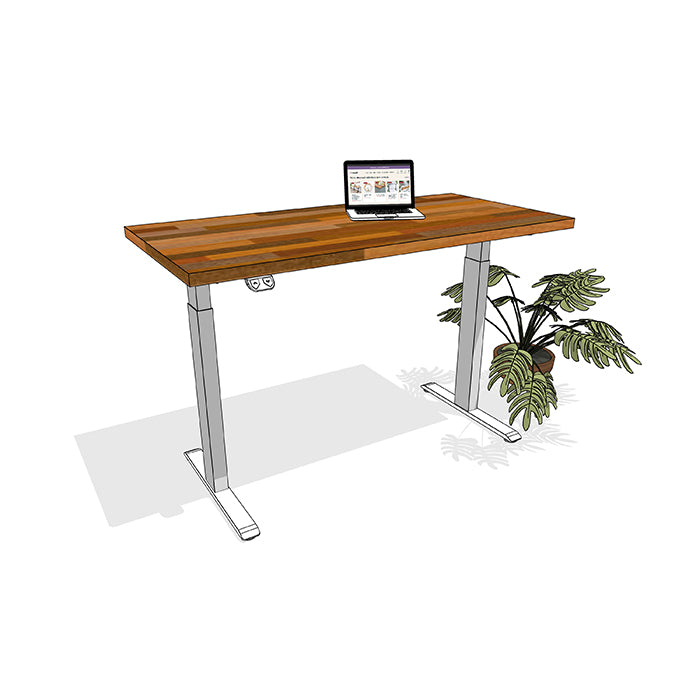
d1 Electric Desk (with Wood Top) Installation Guide
Safety First
- Use caution when handling heavy or bulky components to prevent injury or damage to yourself and the product.
- Always wear protective equipment, such as gloves or safety glasses, when using power tools to avoid accidents.
- Do not over-tighten screws or bolts, as this can damage the components or compromise the stability of the product.
- Please follow the provided instructions carefully to ensure proper assembly and use of the product.
- Keep small parts away from children or pets, as they can be a choking hazard.
- Inspect the product for any defects or damages before assembly, and contact us if you notice any issues.
- Please do not modify the product or use it for any purpose other than its intended use.
- Use caution when working with sharp tools or edges, and keep them away from children and pets.
- If you are uncertain about any aspect of the assembly process, seek assistance from a professional or contact us for further assistance.
- Do not sit or stand on the product.
- This product is not intended to support people or heavy objects. Avoid placing excessive weight to prevent damage and instability. MAX lifting weight (including desktop) 100Kg.

Instructions
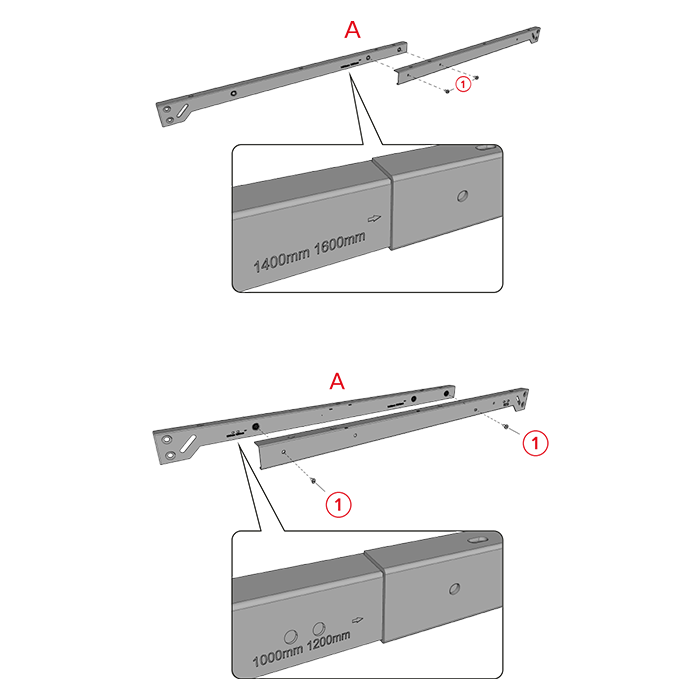
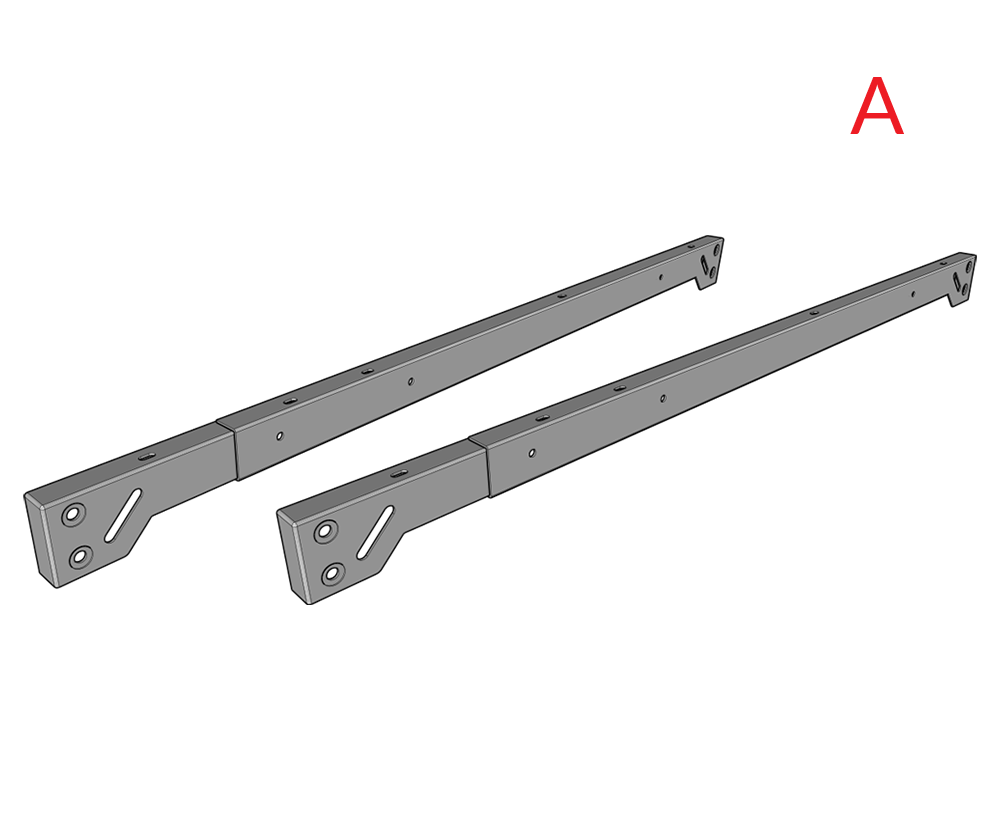
Step 1. Please read the safety guidelines stated above before you start to assemble the product. Assemble supporting beam (A) of the desk. Select the correct length of beam according to the size of your top: 1000mm-1200mm for a 1200mm long top or 1400mm-1600mm for a 1500mm long top.
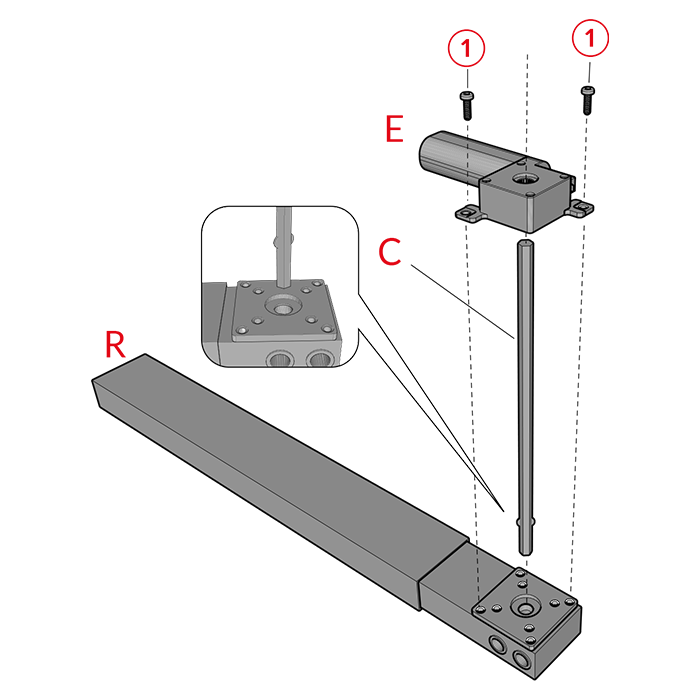
Step 2. Attach motor to leg and position the motor shaft.
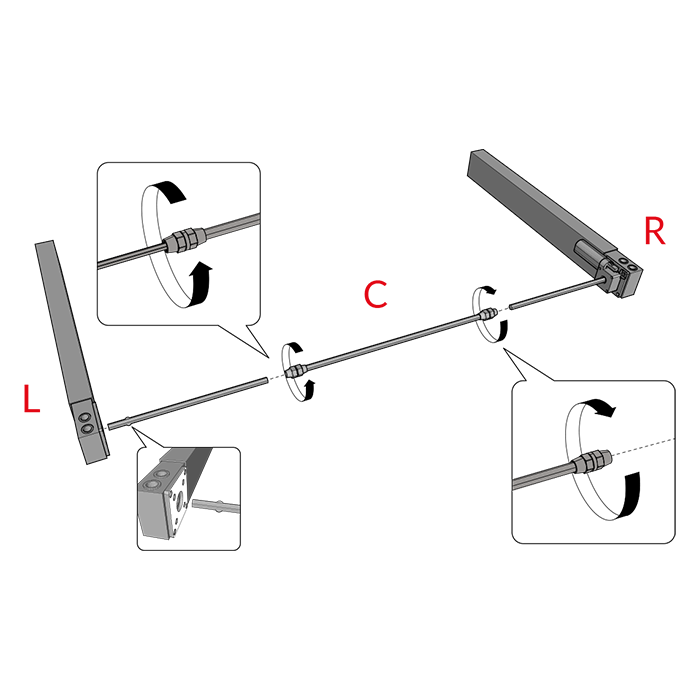
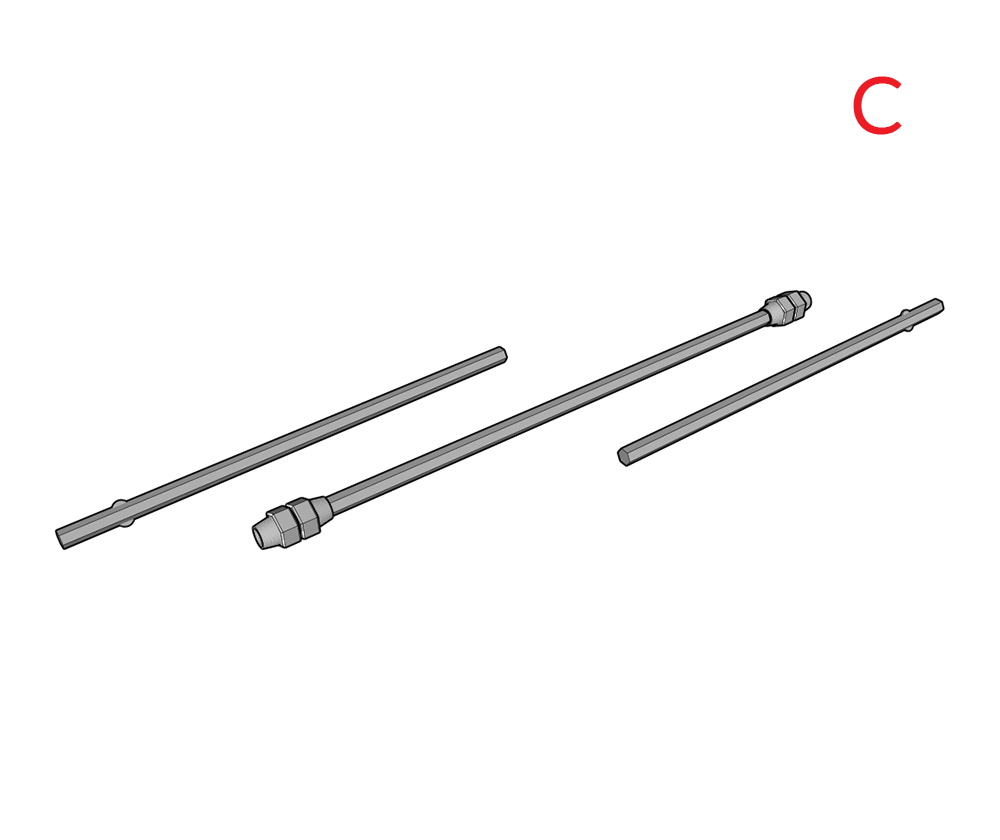
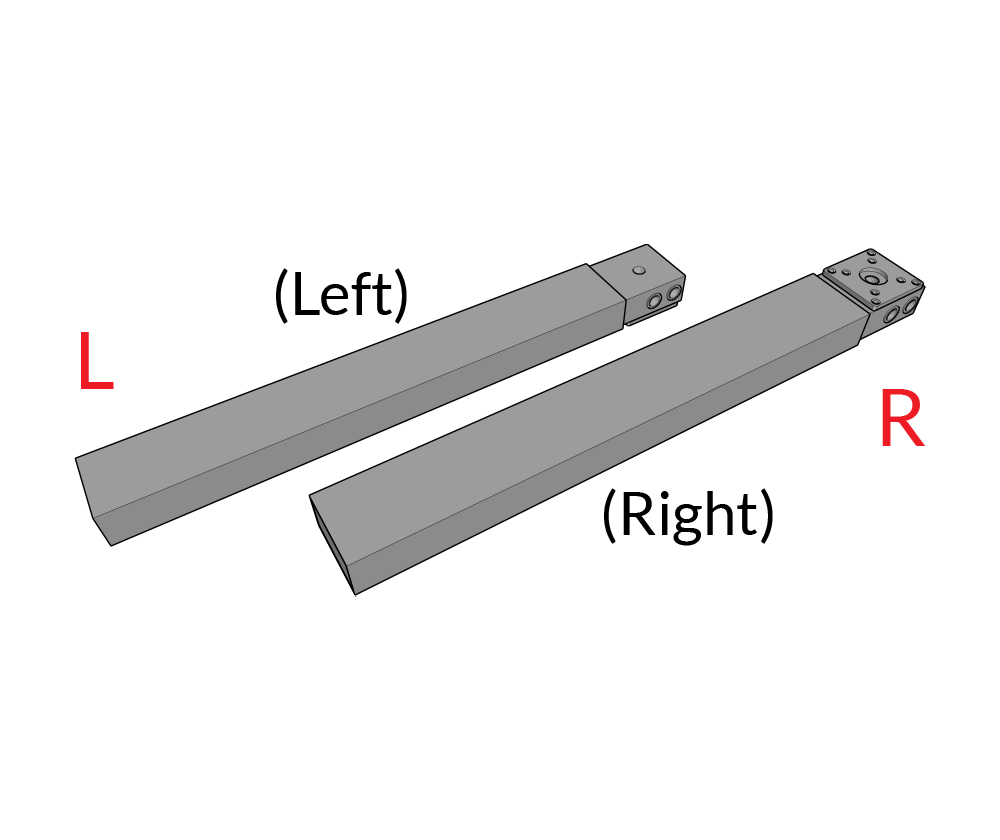
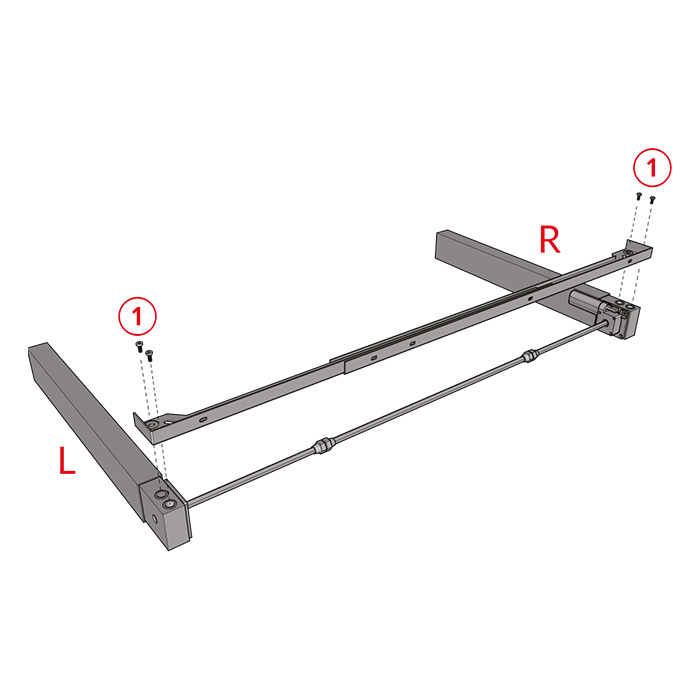
Step 3. Connect left and right leg with the motor shaft extension. Loosen both end locking nuts to allow the shaft to extend to the correct length.
Step 4. Attach front supporting beam to legs.
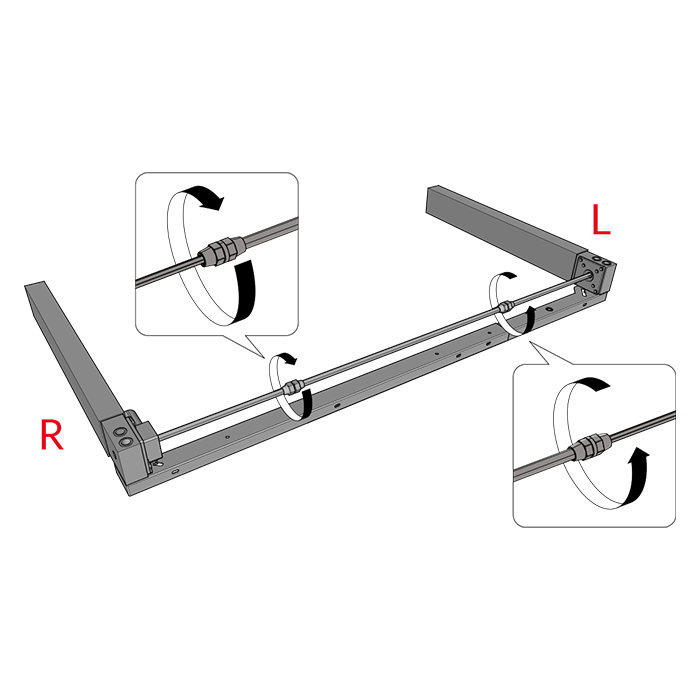
Step 5. Adjust length of the motor shaft to the correct lengths and tighten both shaft locking nuts in place.
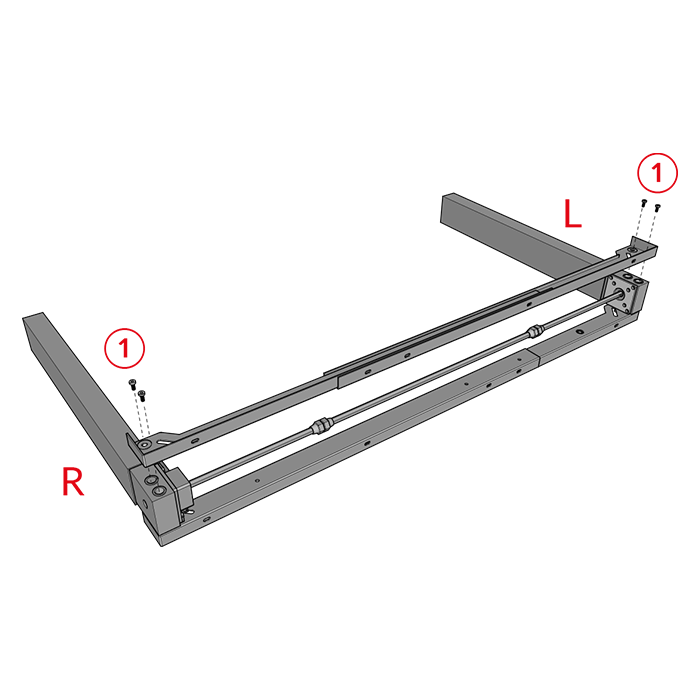
Step 6. Attach rear supporting beam (A) to legs (L, R).
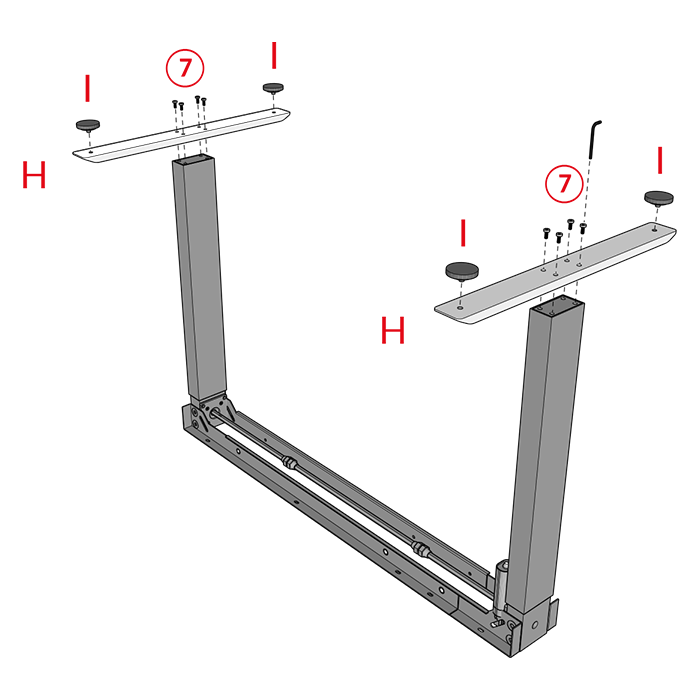
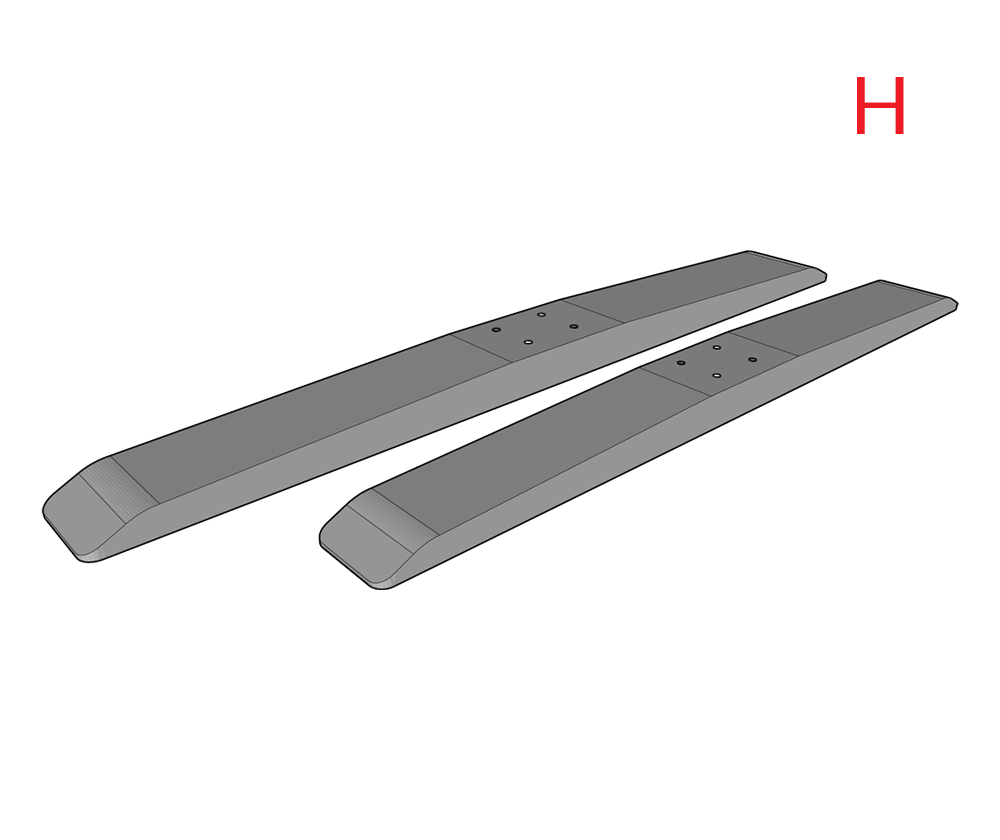
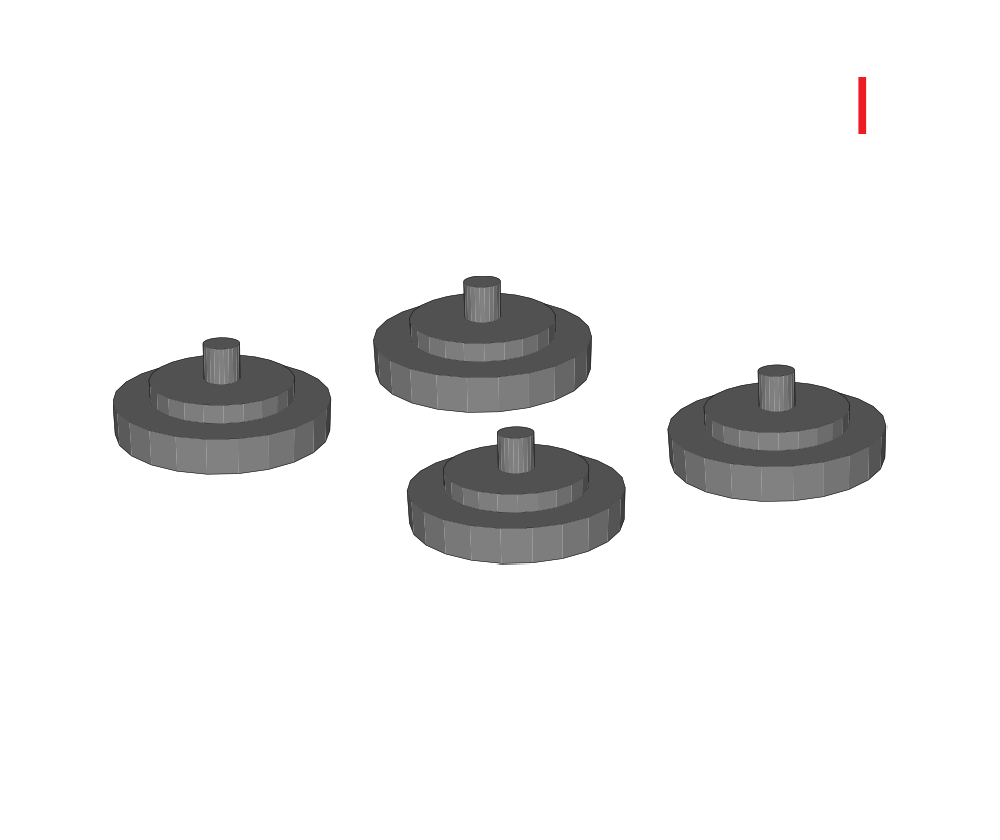
Step 7. Attach feet (H) to legs (L, R).
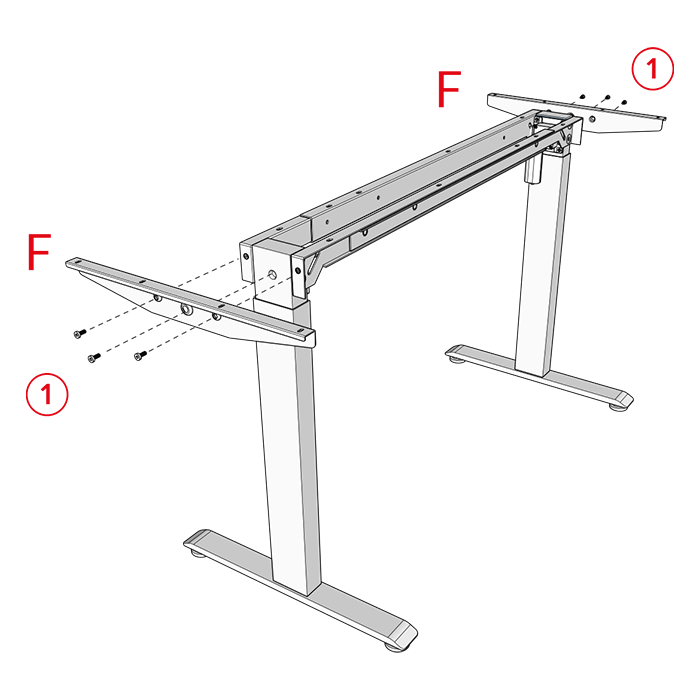
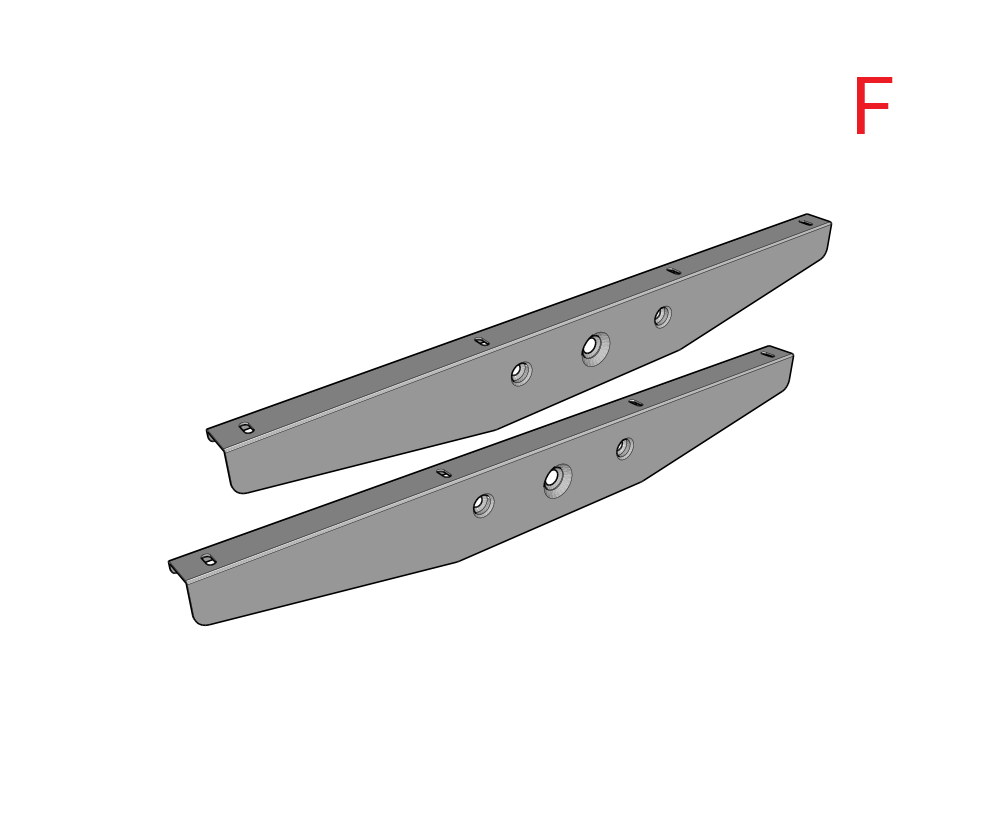
Step 8. Attach side brackets (F) to frame.
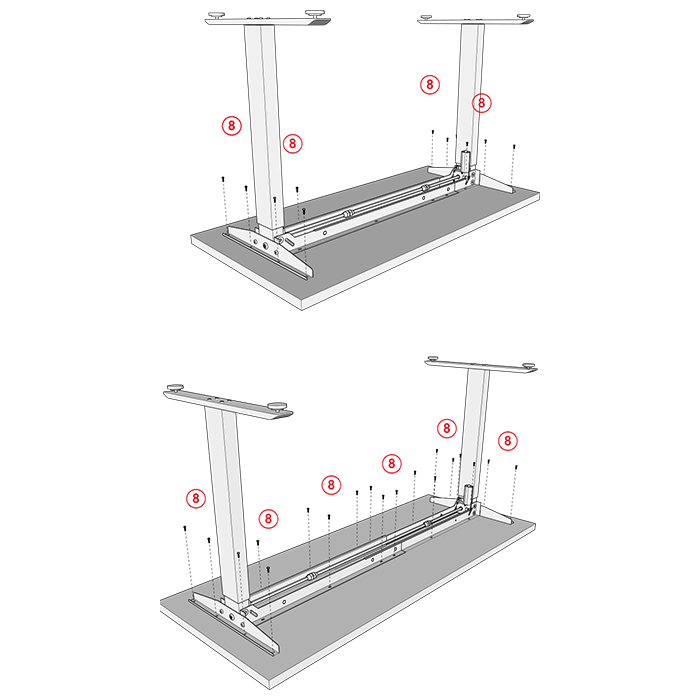
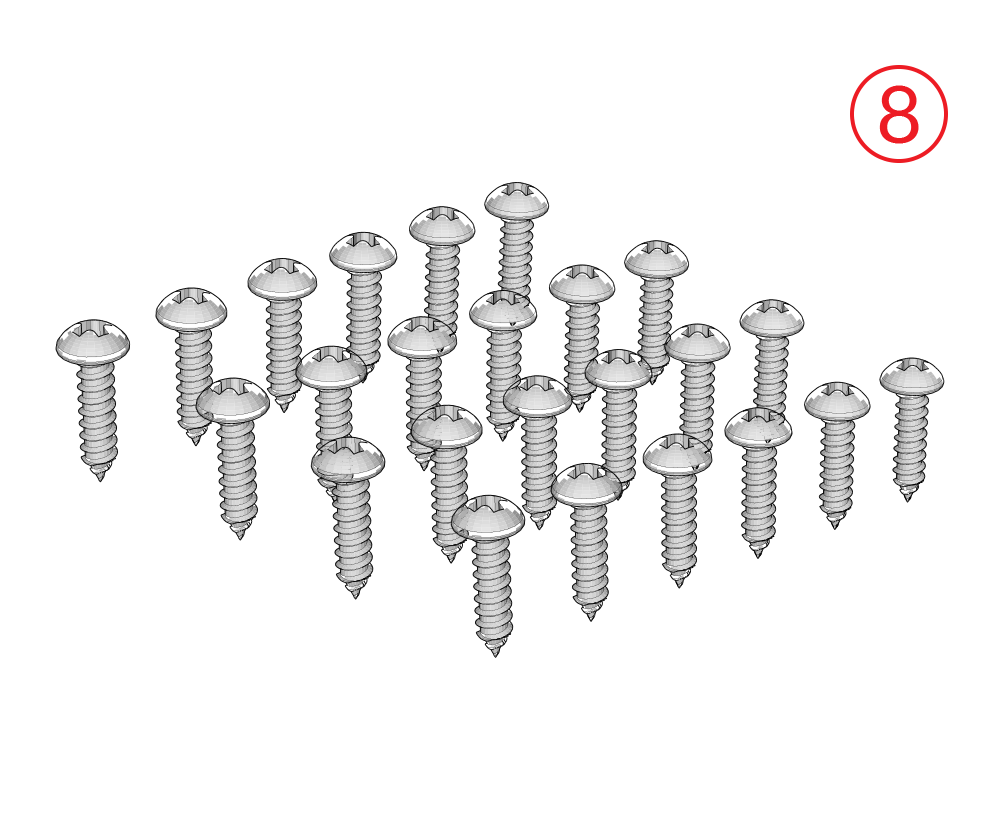
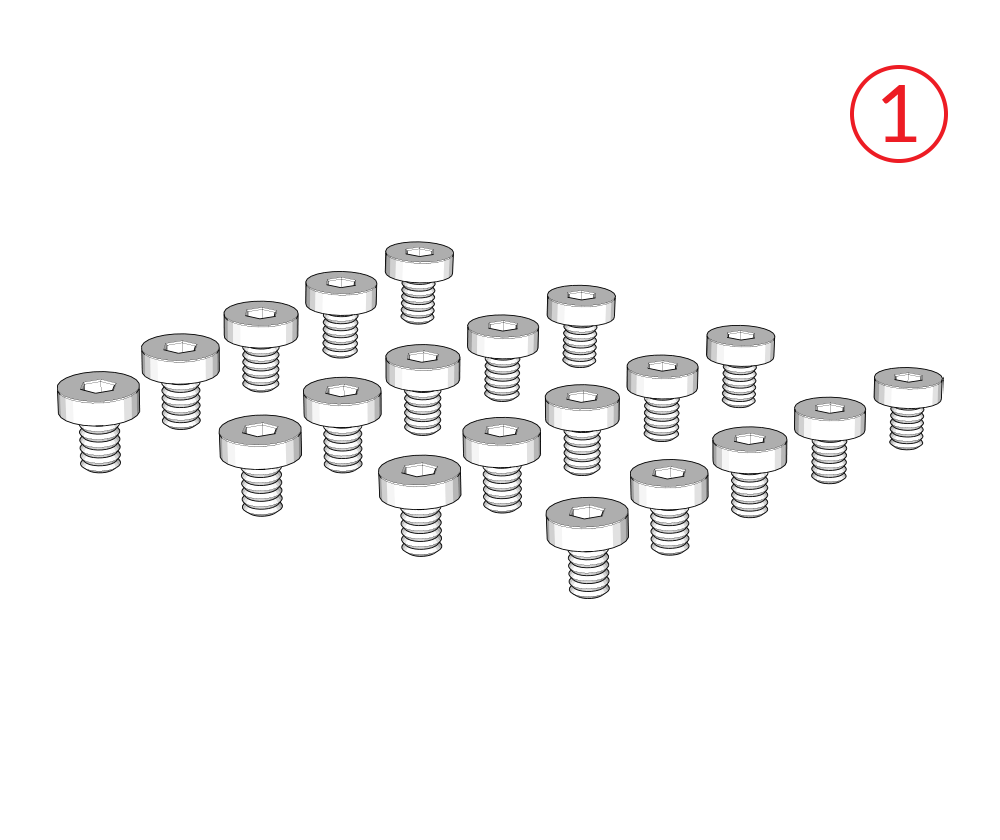
Step 9. Attach the leg assembly to the wood top, using the provided screws (8).
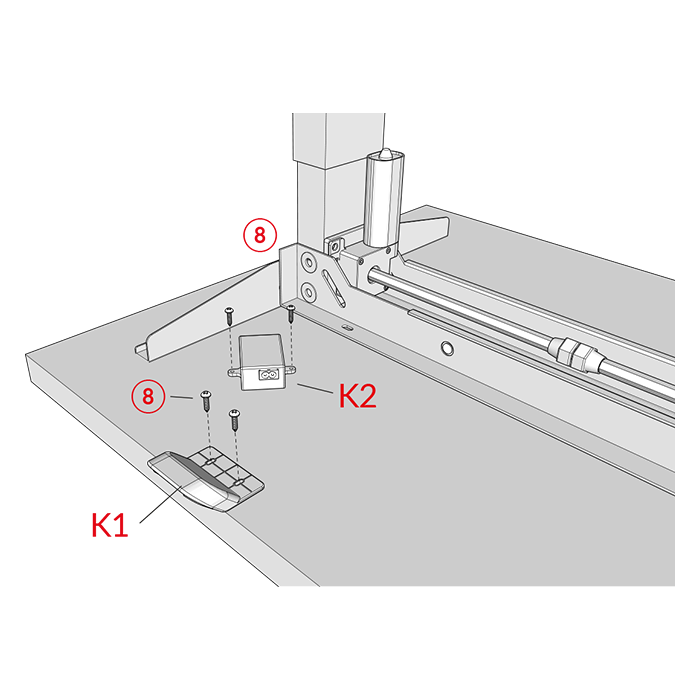
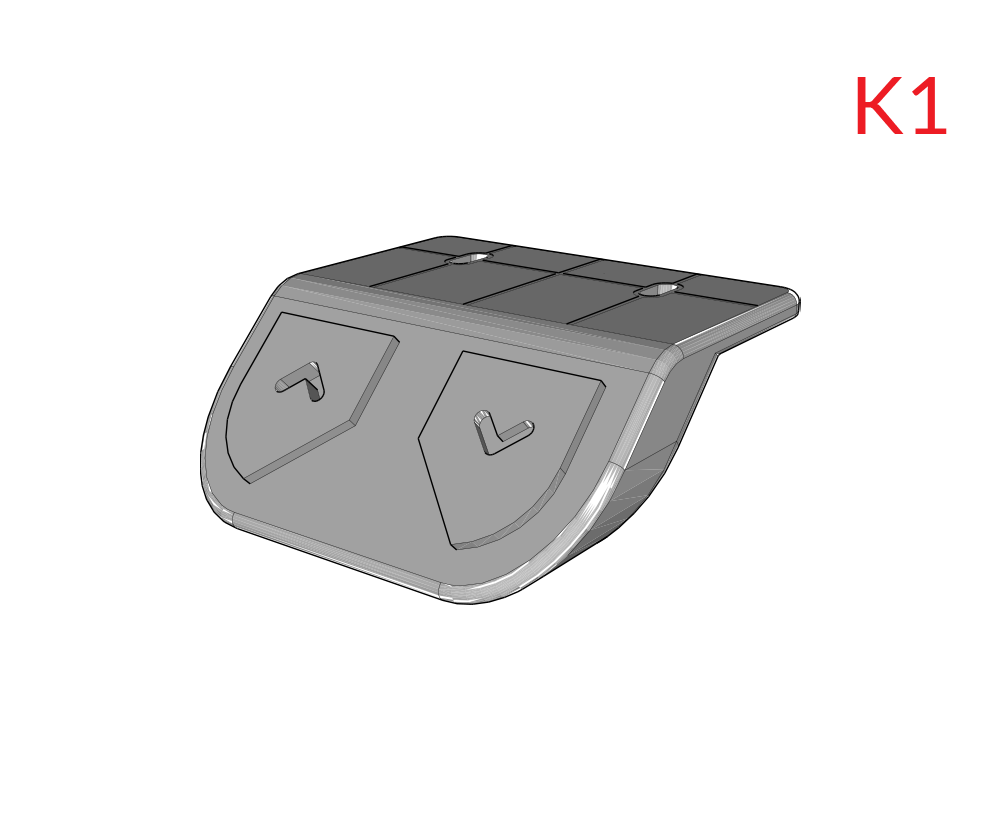
Step 10. Attach the control unit (K1) and the power block (K2) with screws (8) to the top.
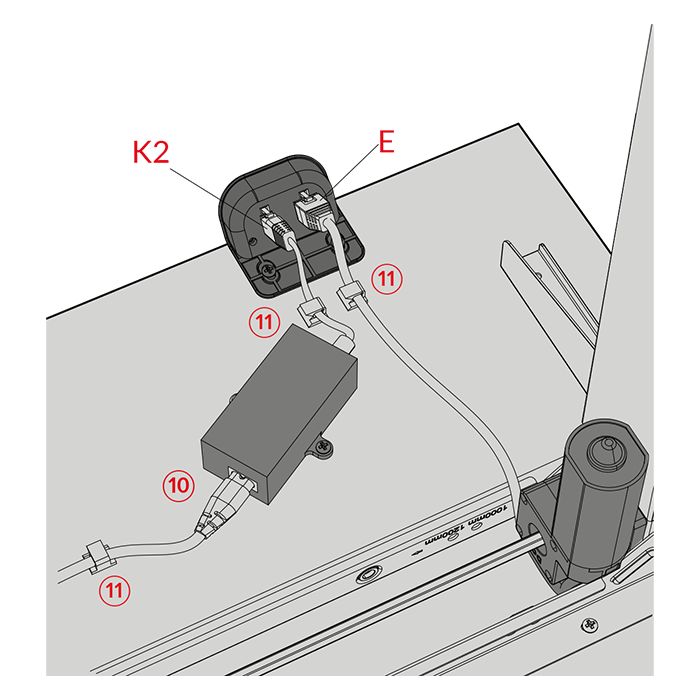
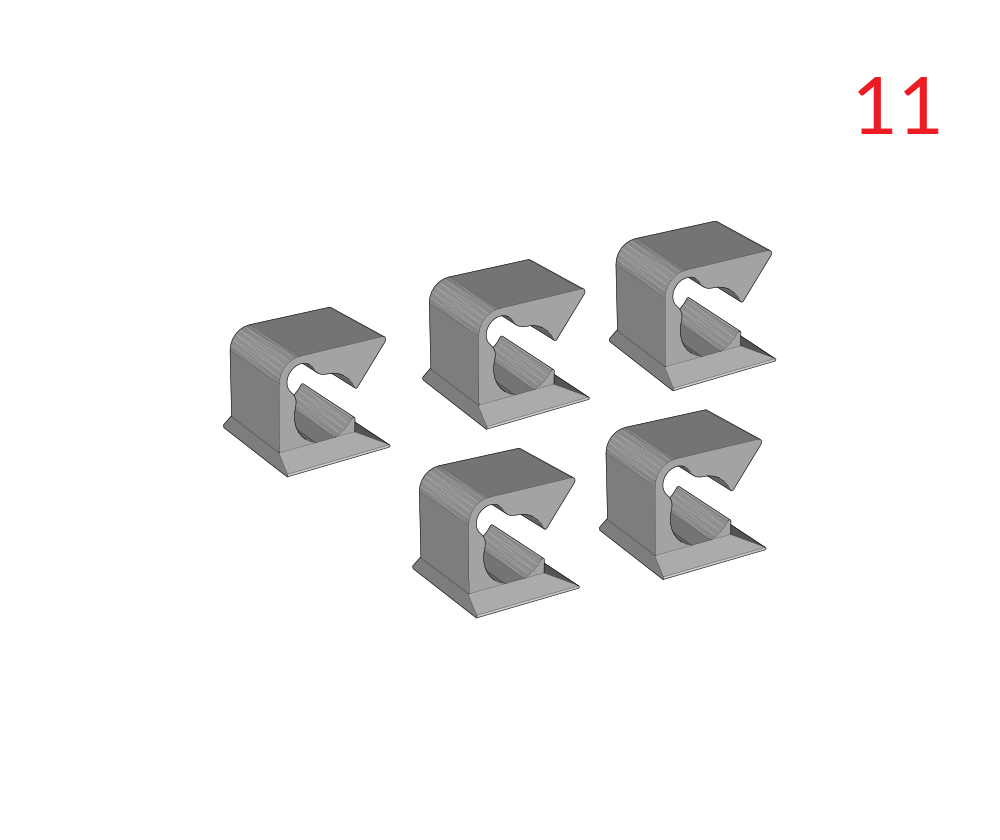
Step 11. Connect the wiring from the control unit (K2) to the power block and to the motor (E). Secure the cabling in place using the cable clips (11). Connect the power plug (10) to the power block.
Job done!